October 15, 2020
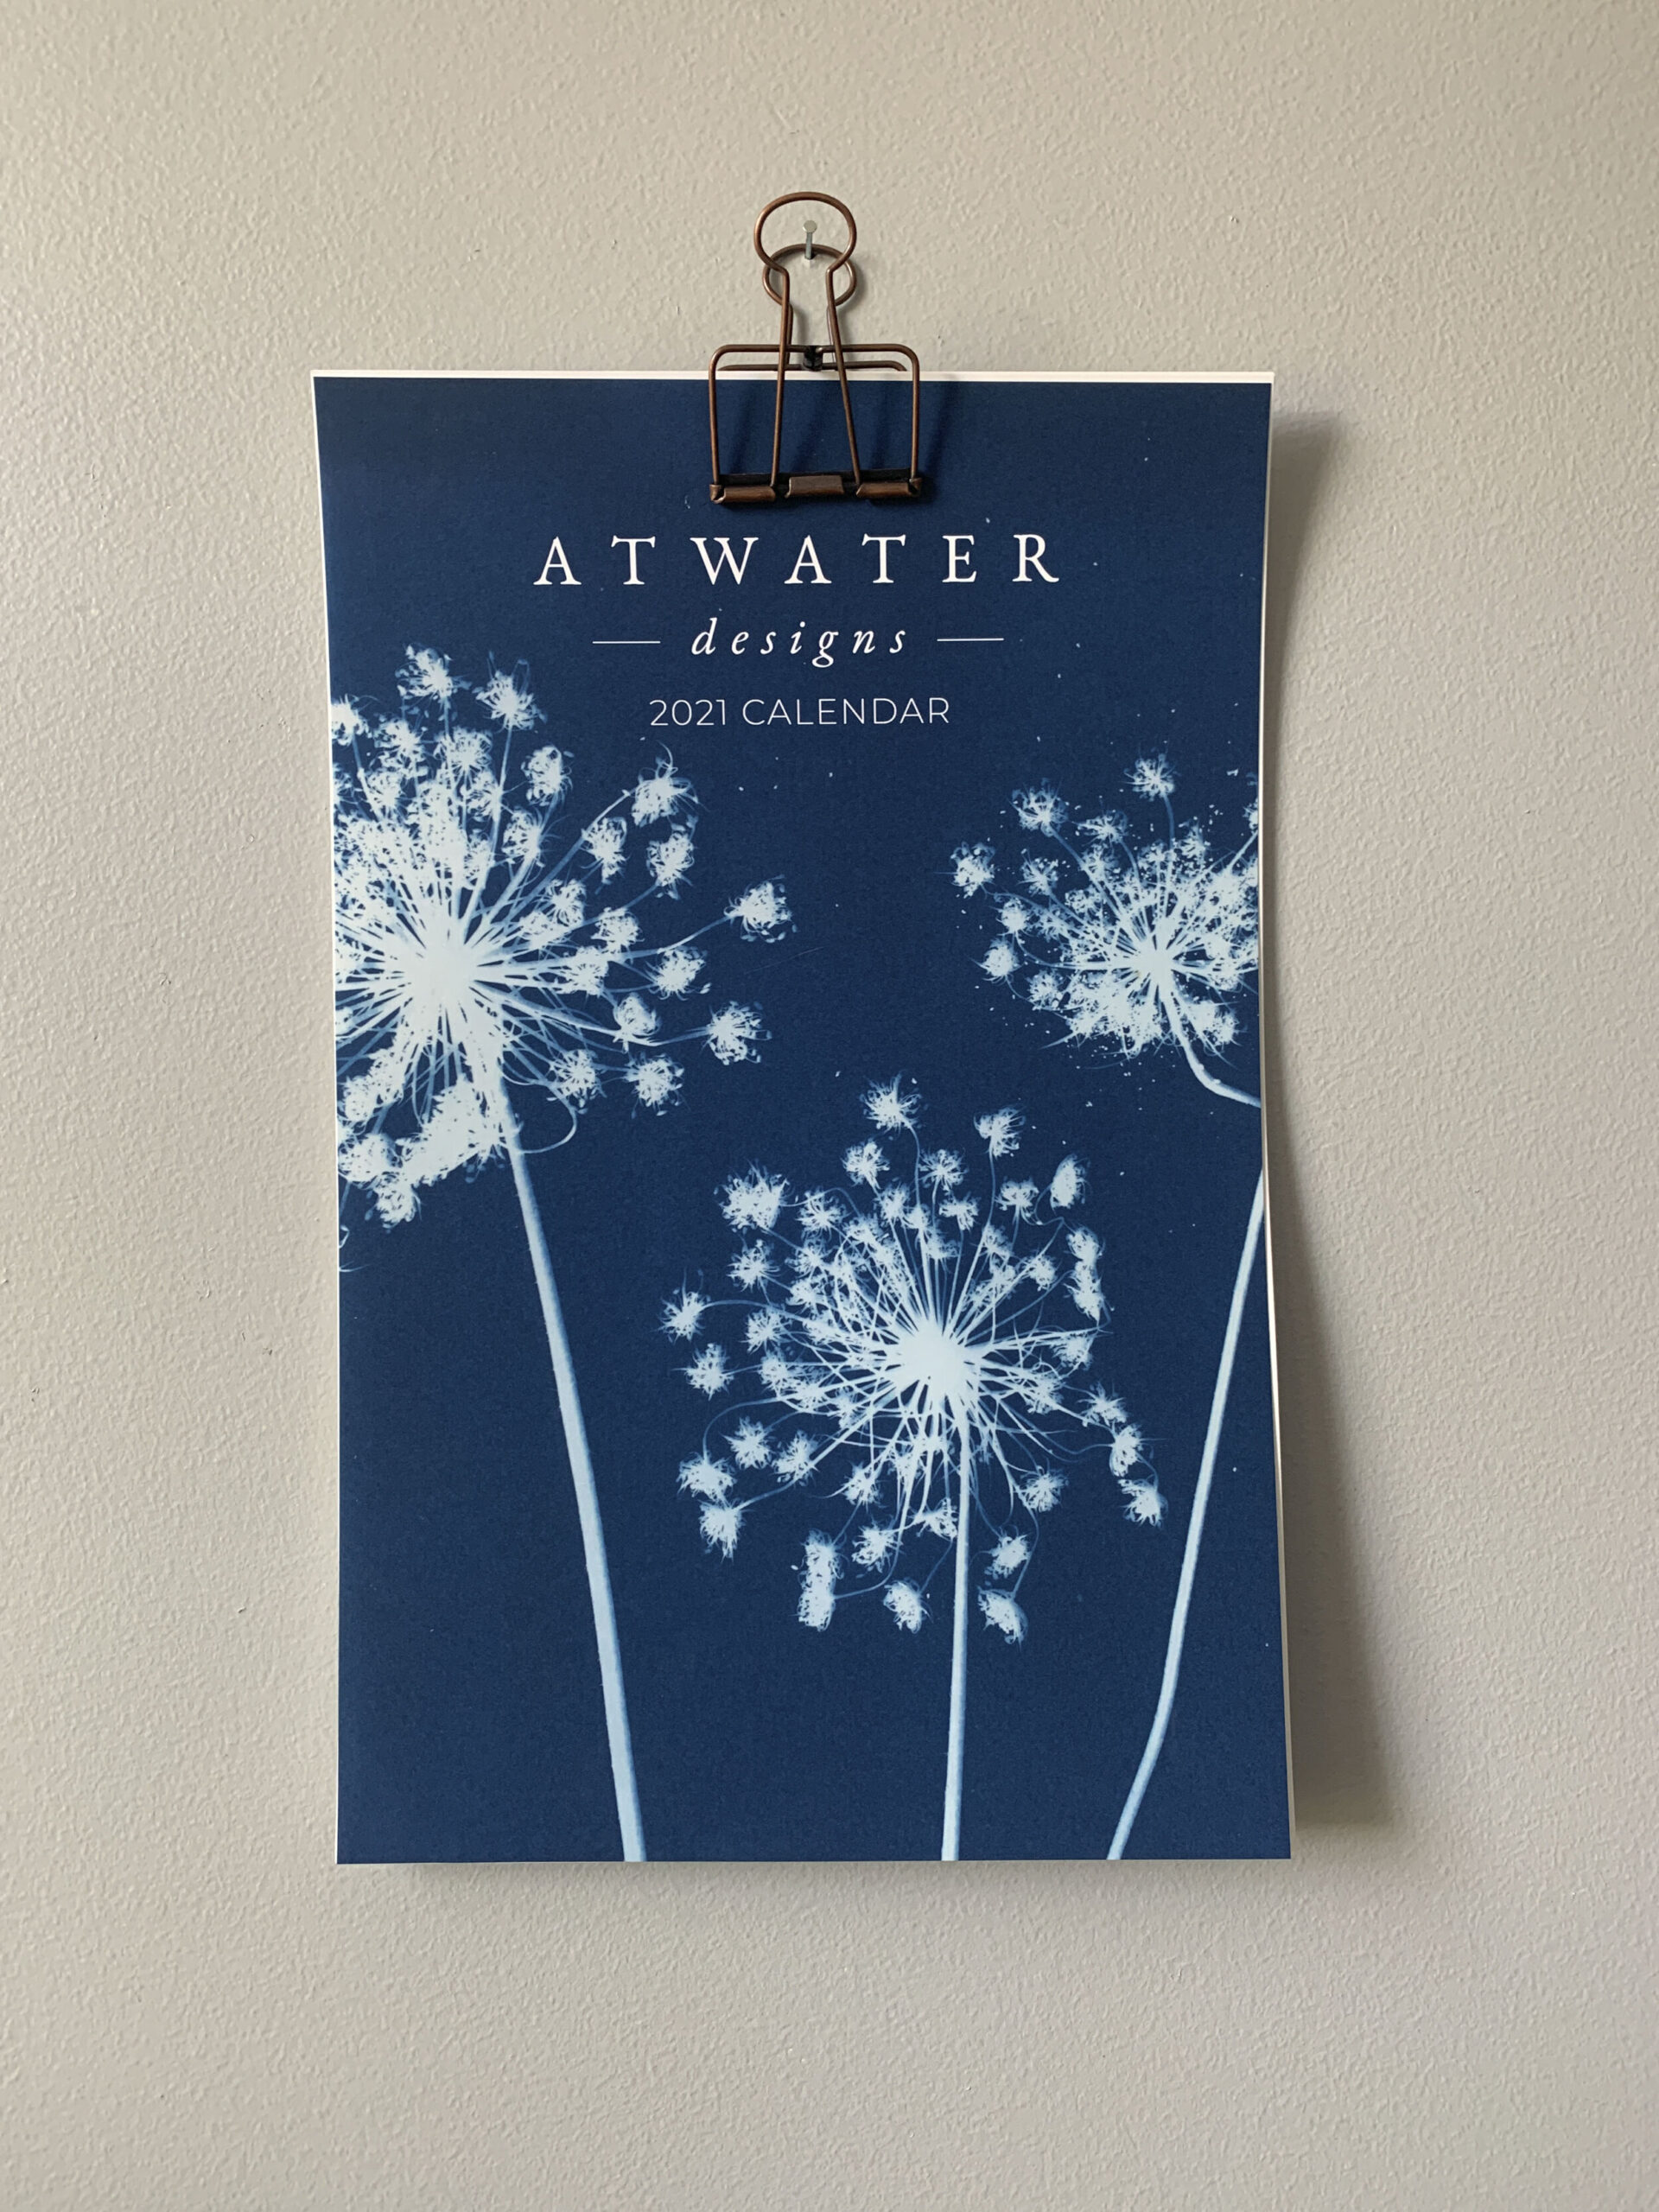
I designed my first calendar last year so that you could cut your print off and frame it in a square, inexpensive IKEA frame. It’s a great way of having framed art prints that don’t cost too much. Below I walk you through the process of measuring, cutting and framing your print.
-
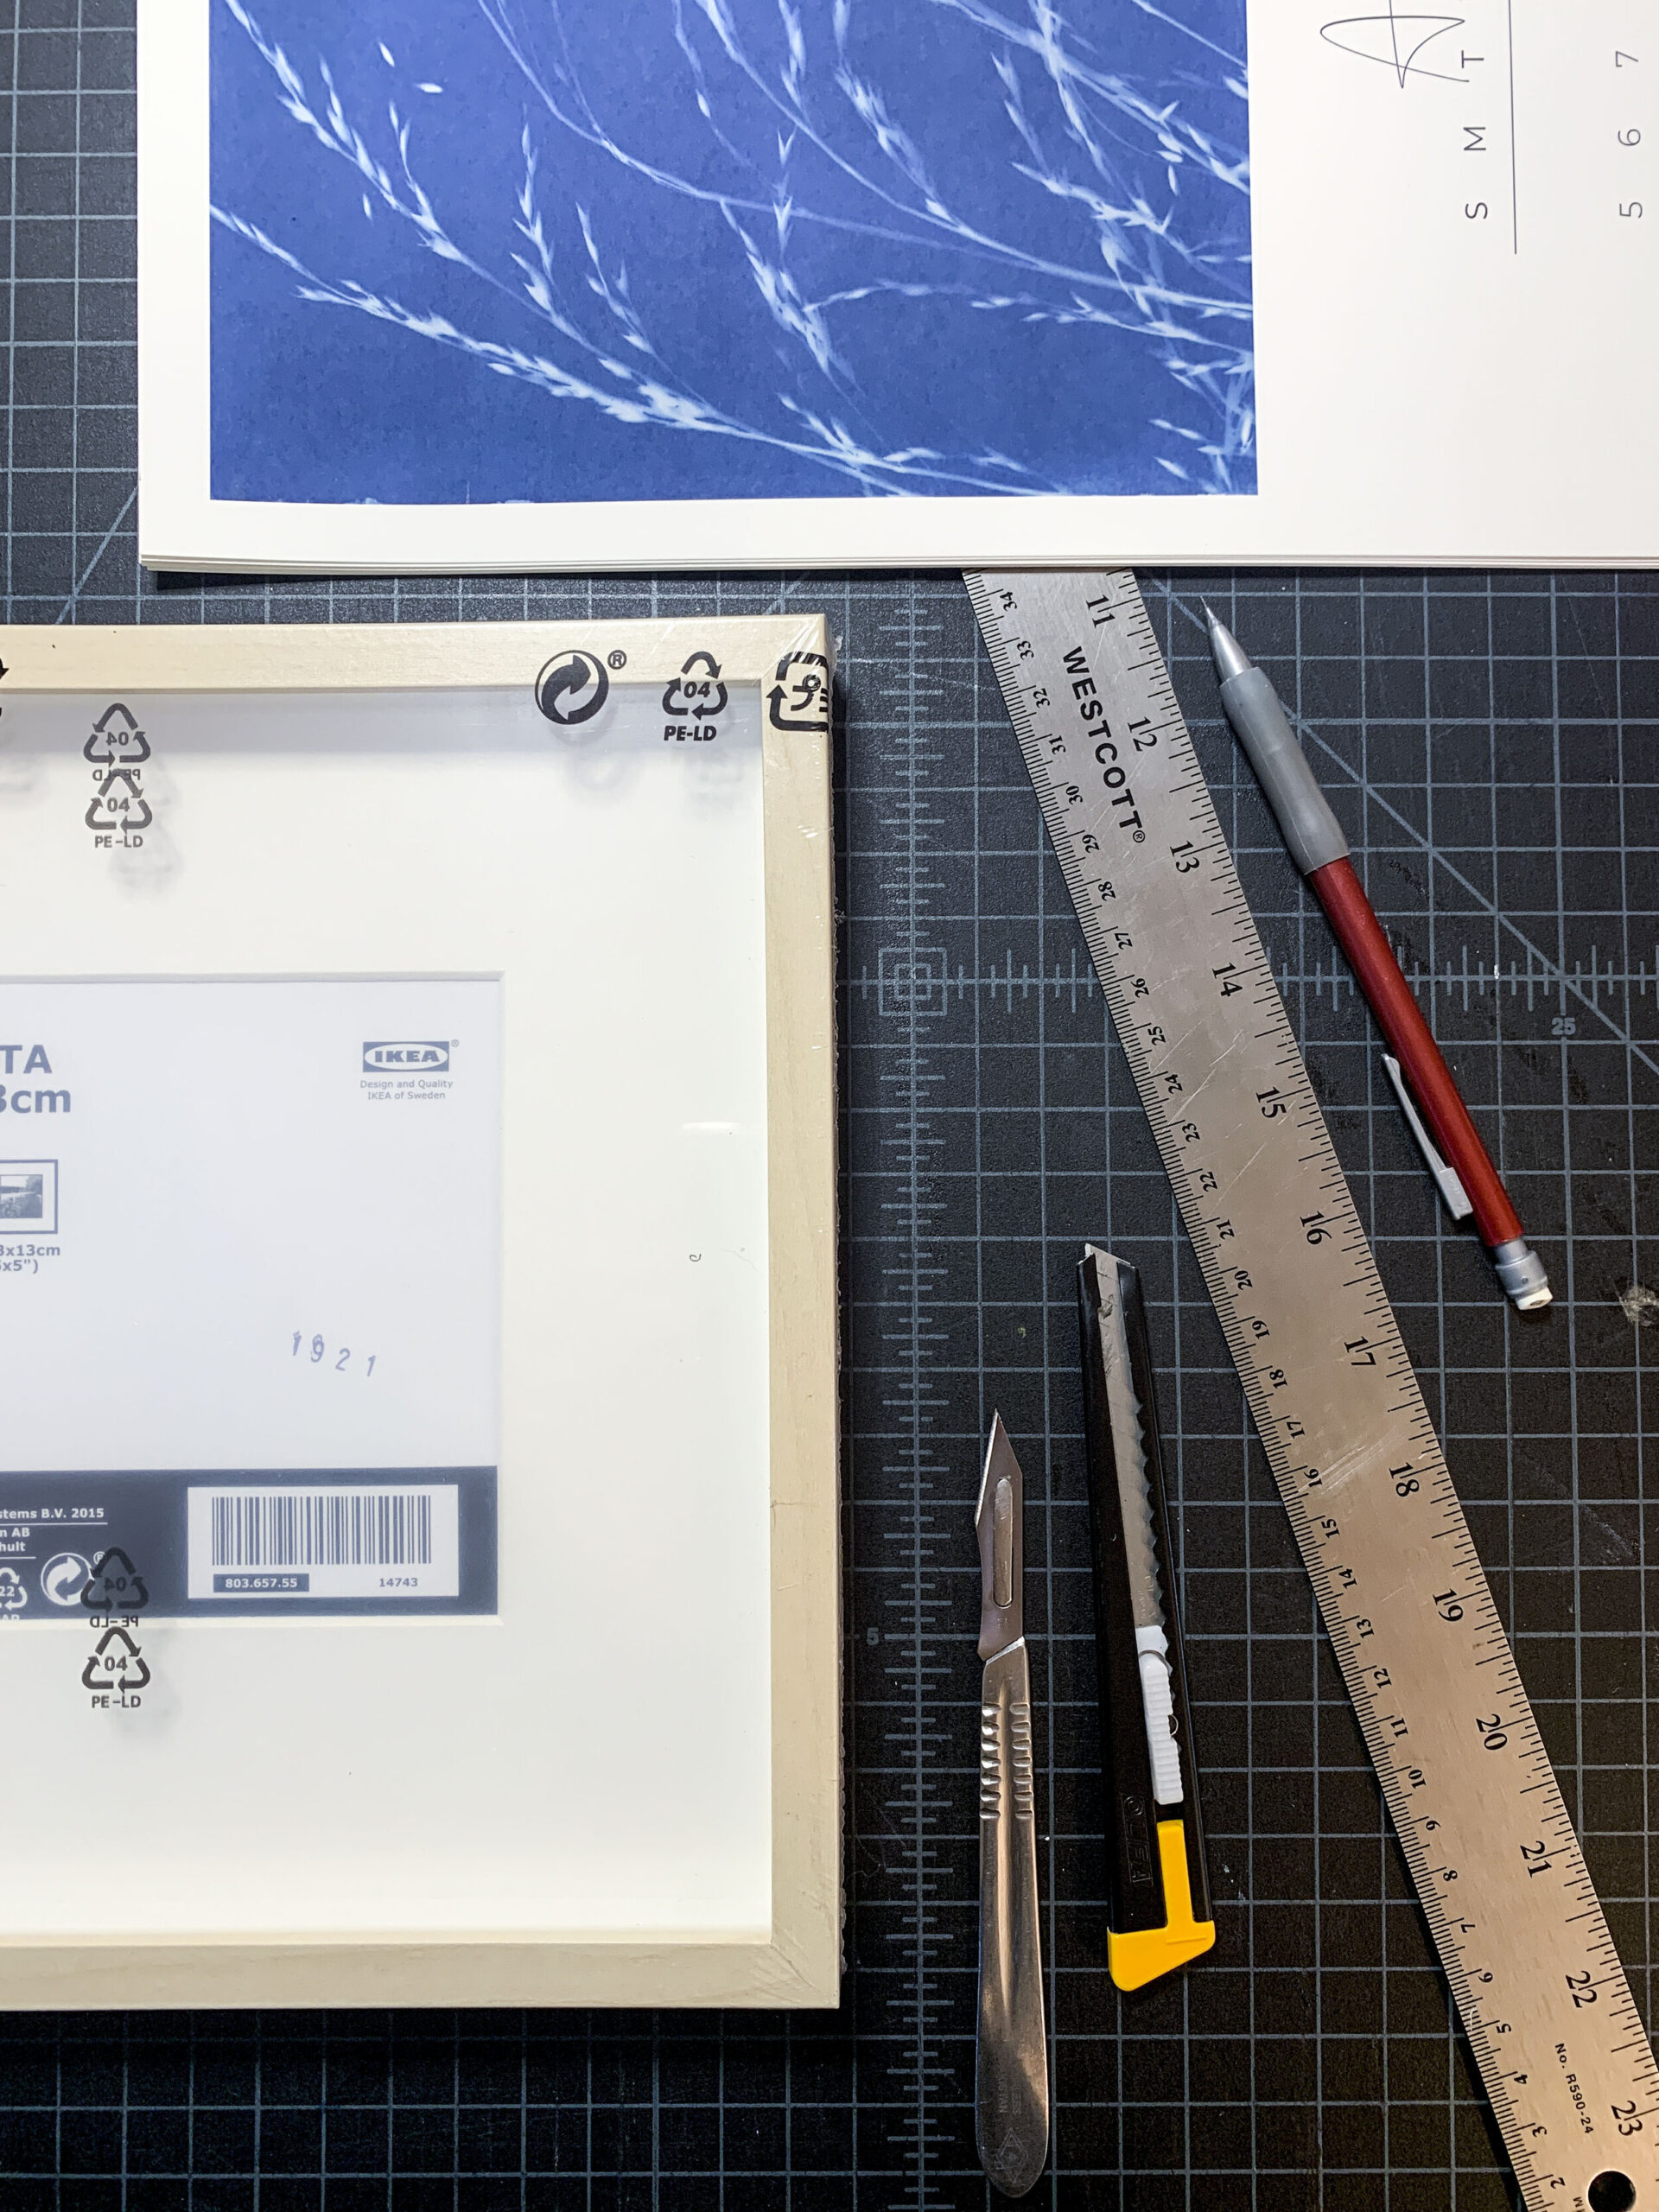
Prep materials | You will need the calendar, a frame, an X-Acto knife or cutting tool, ruler, pencil, and a cutting mat or a surface you can cut on safely.
-
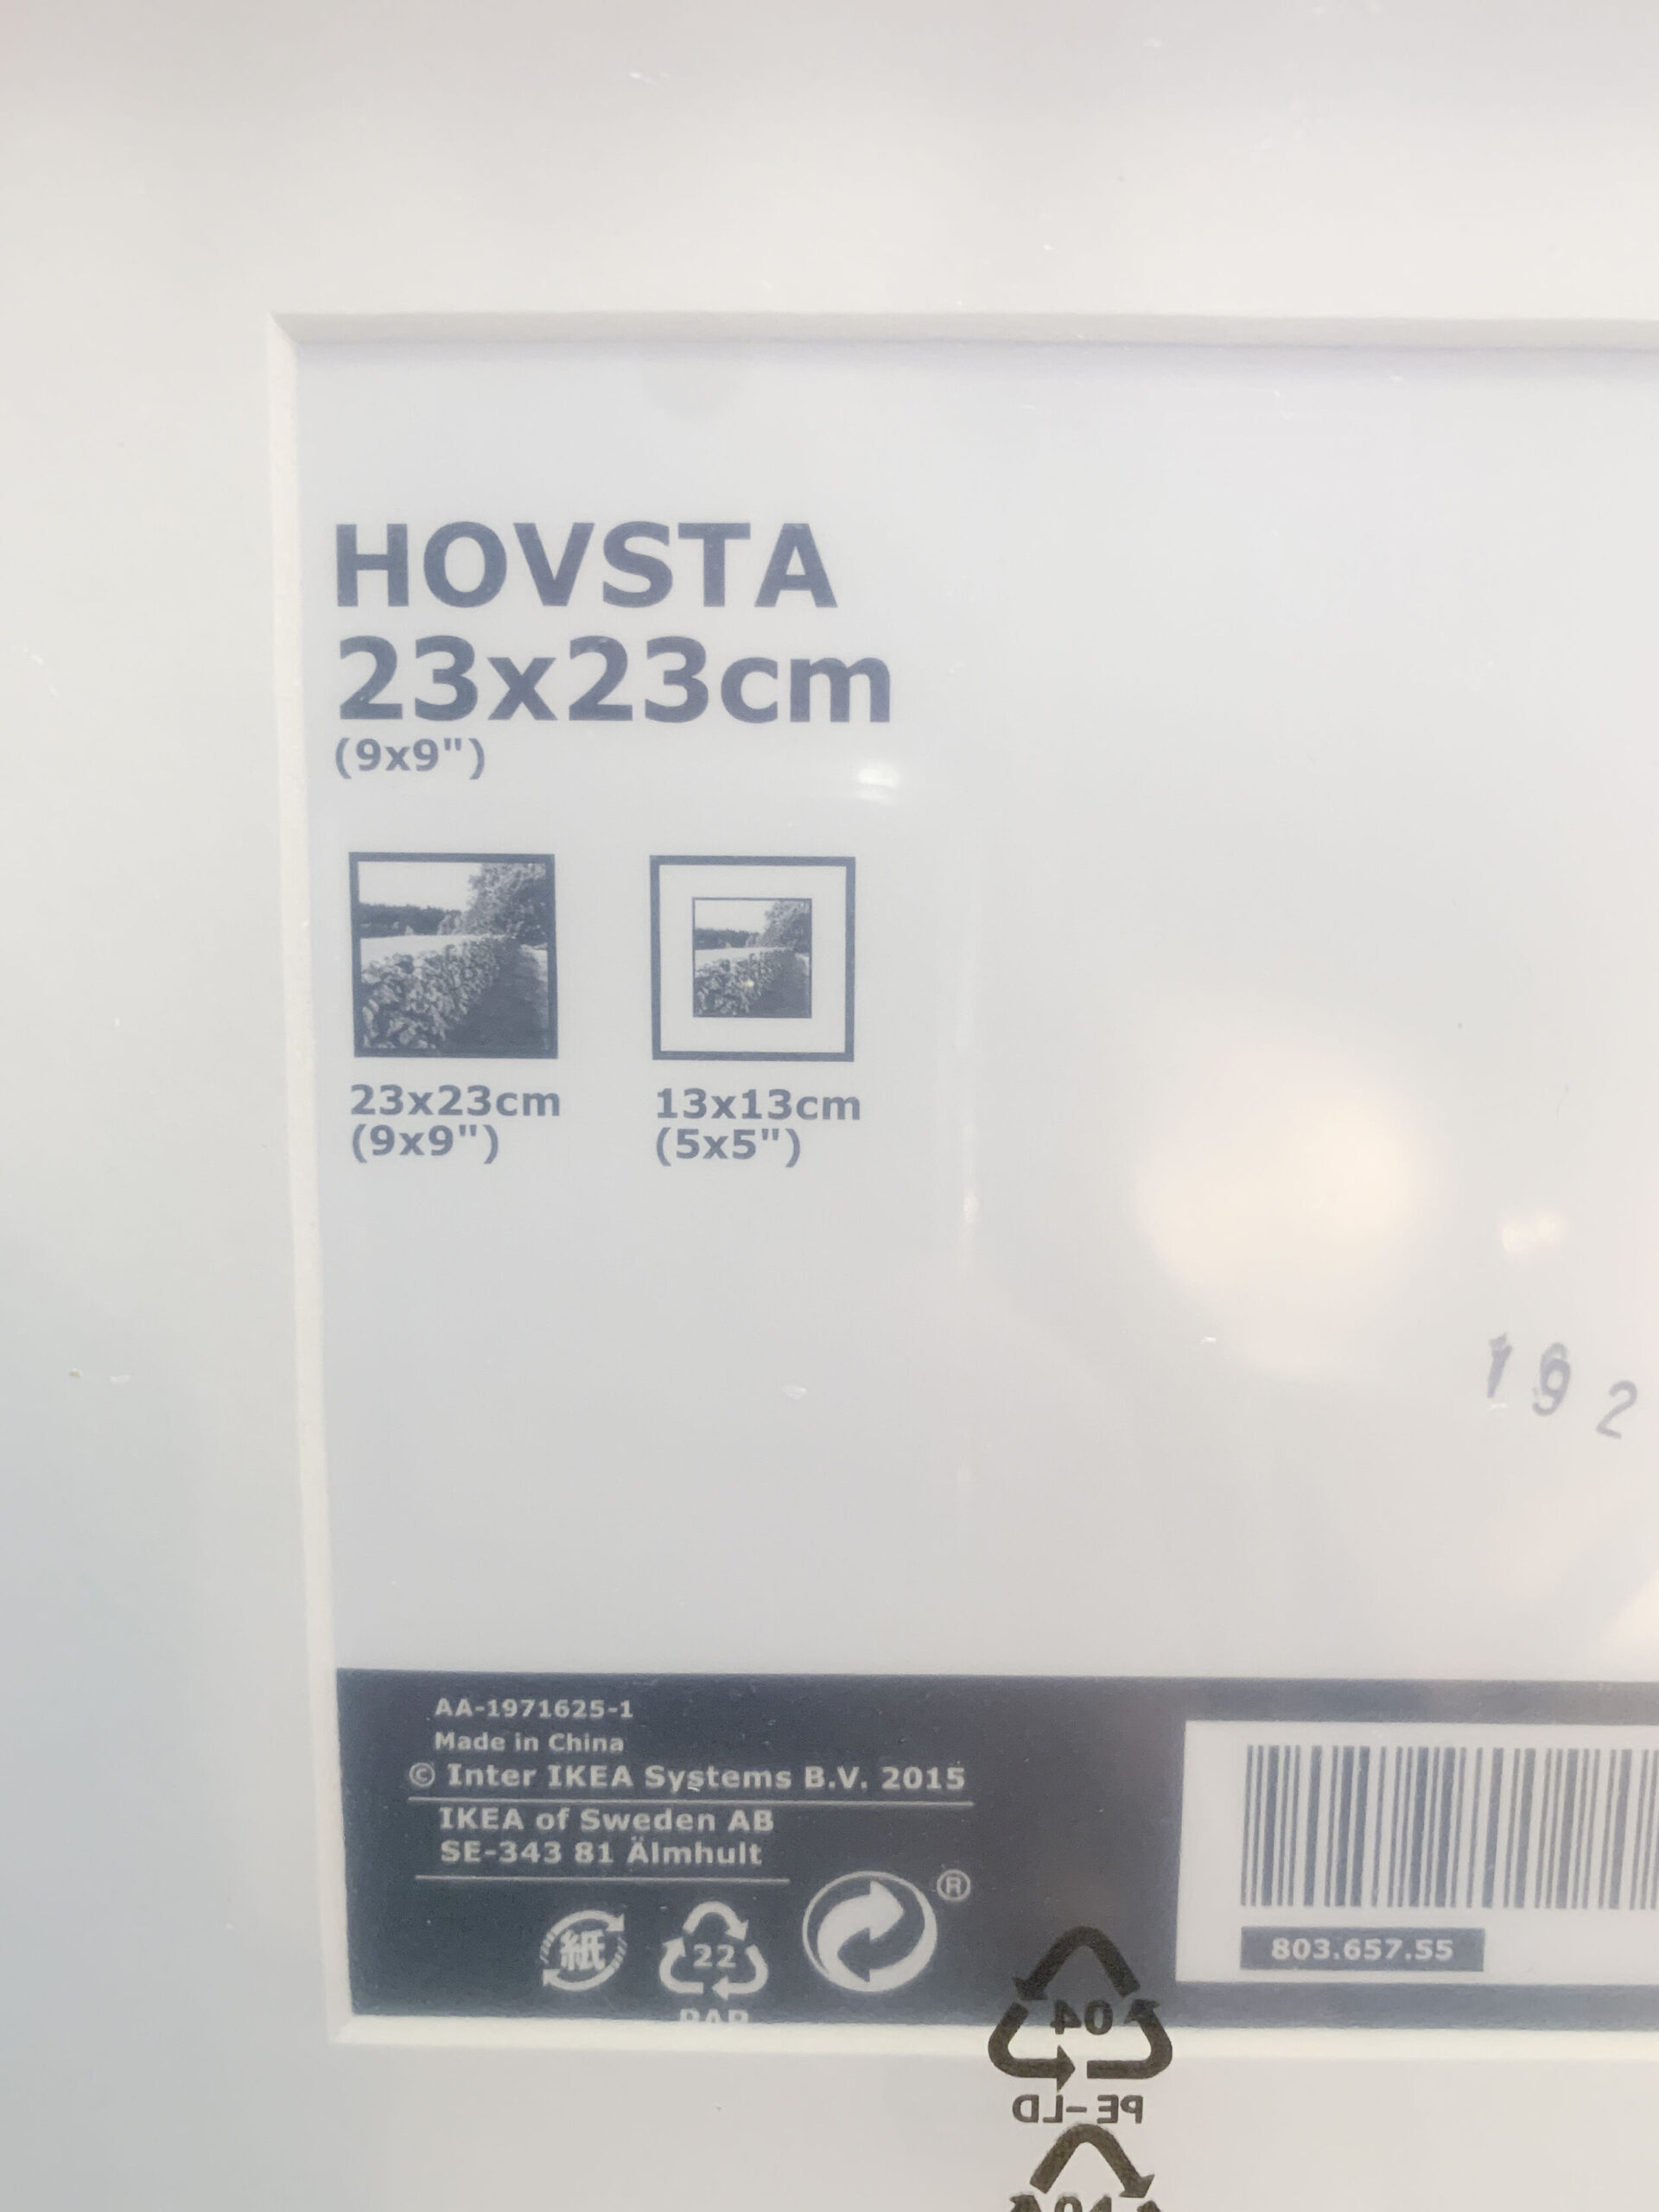
Frame | Be sure you have an IKEA HOVSTA square frame.
-
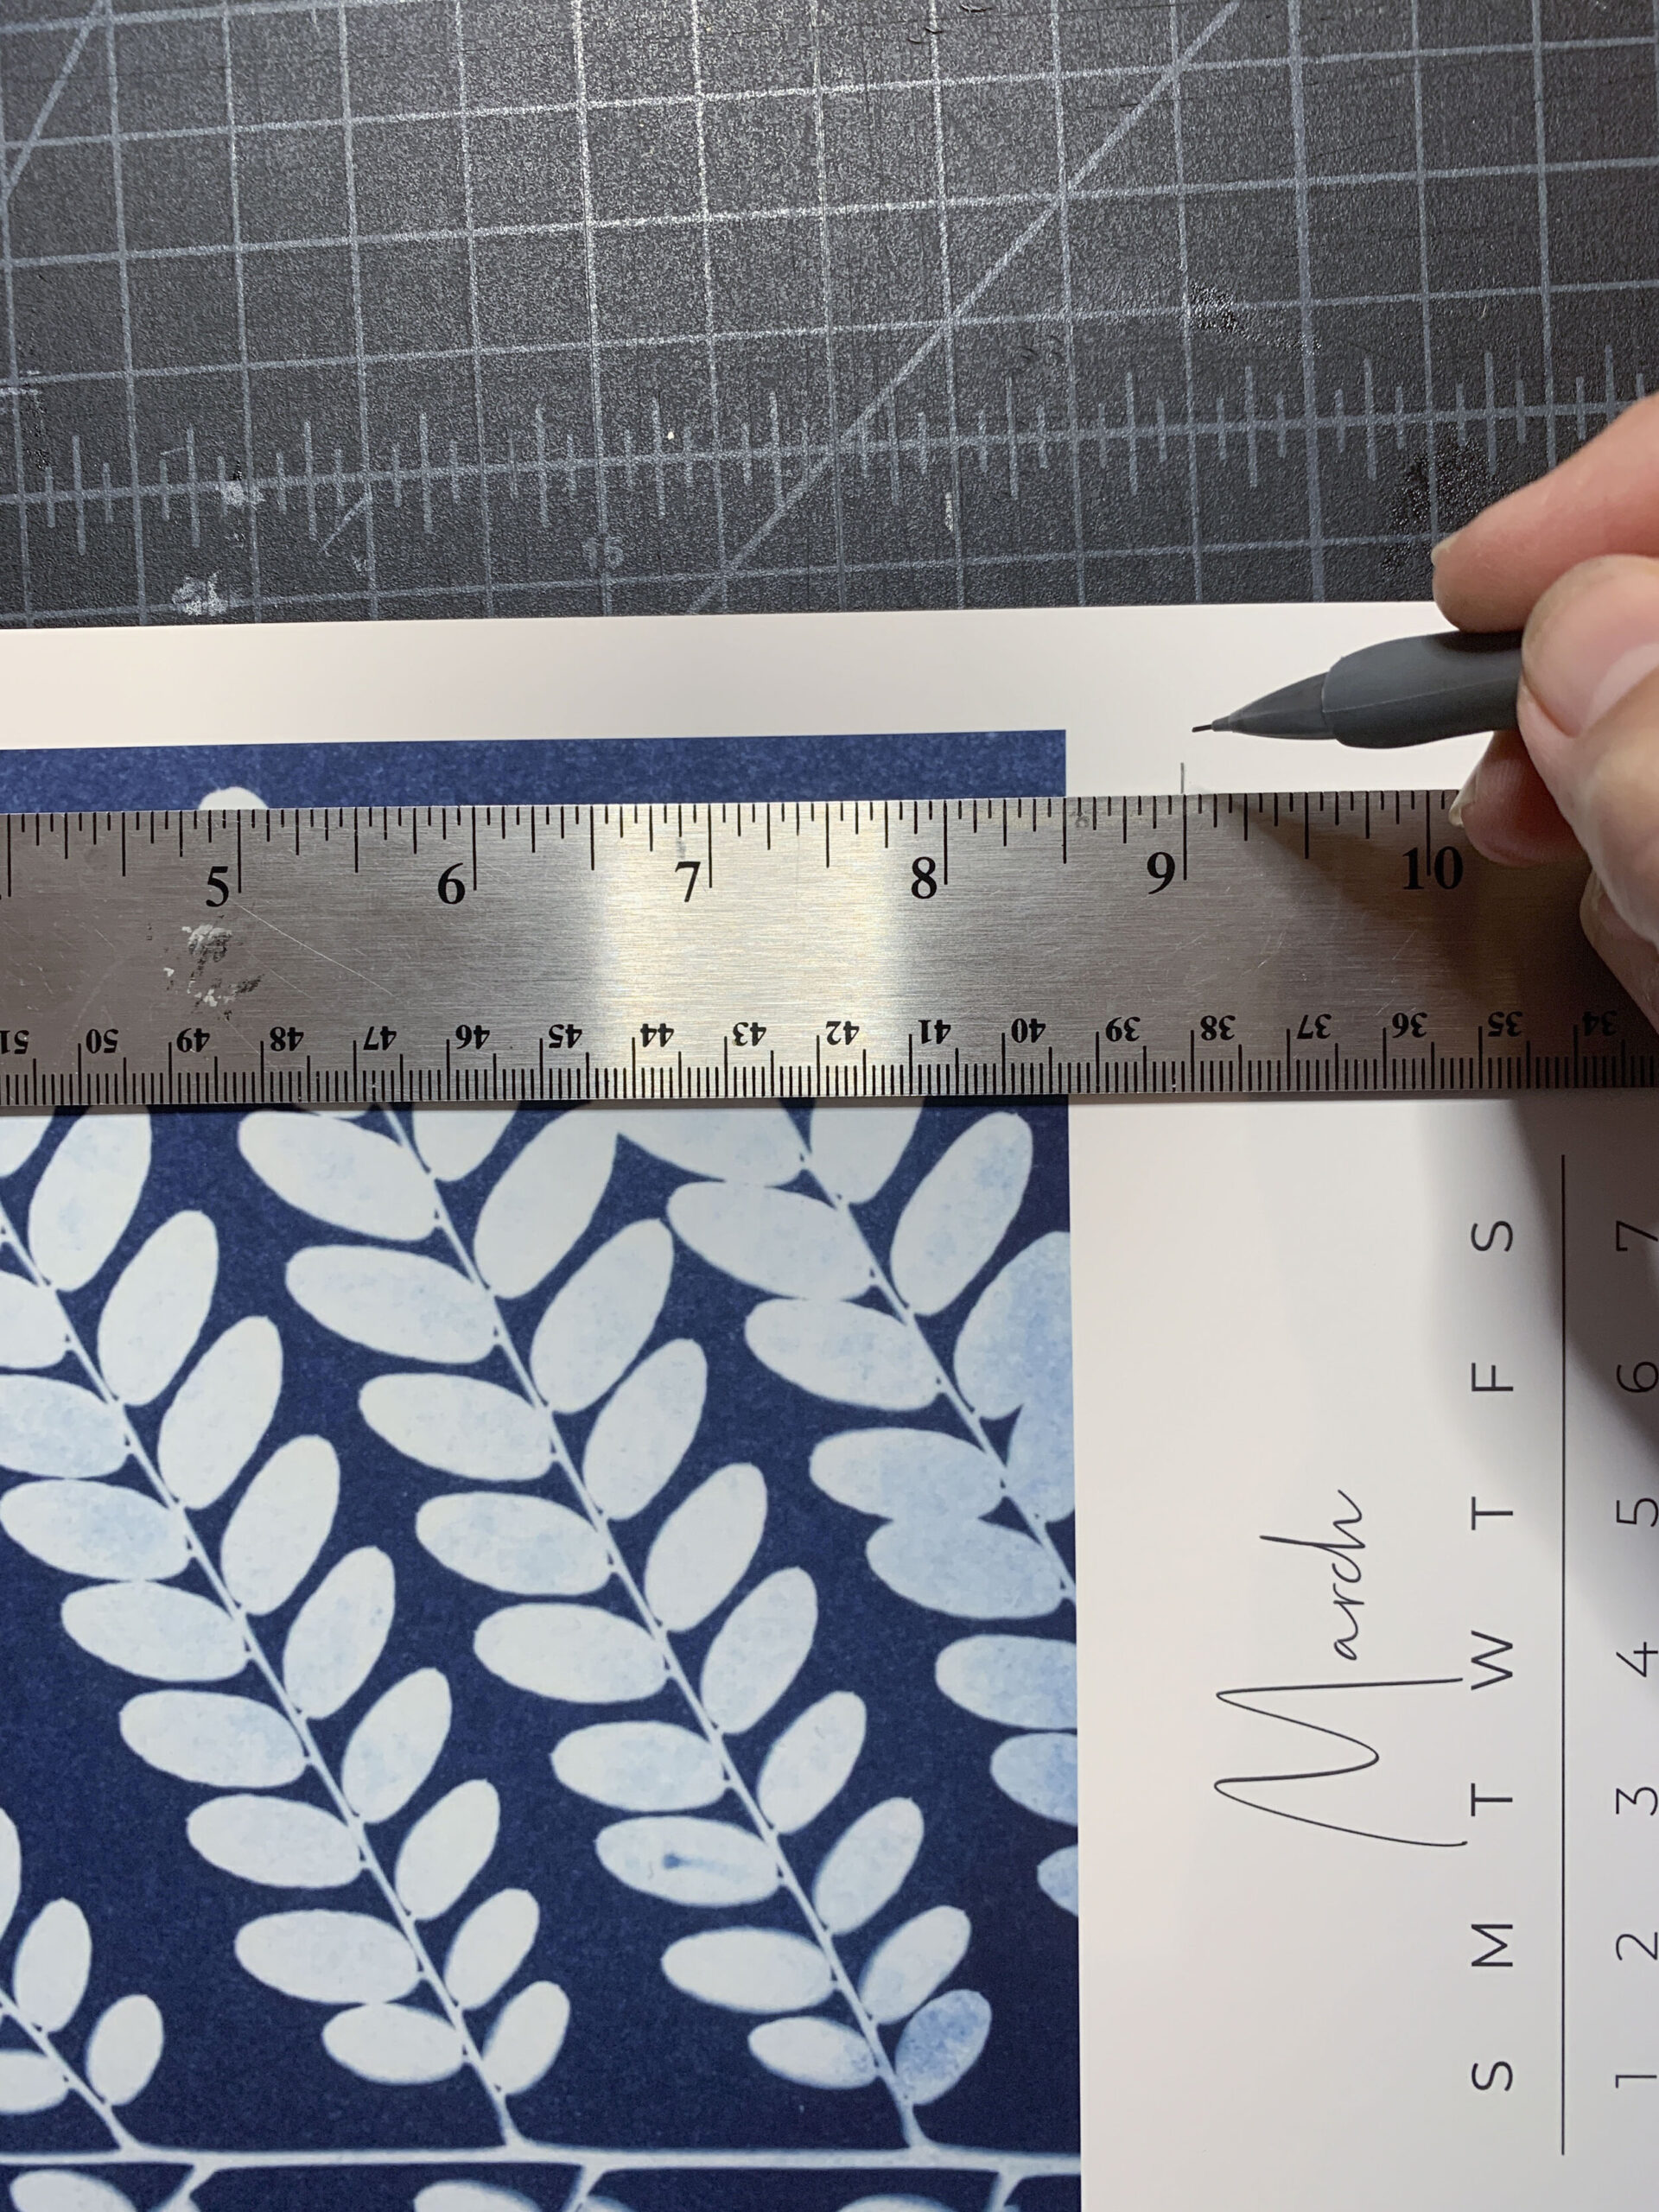
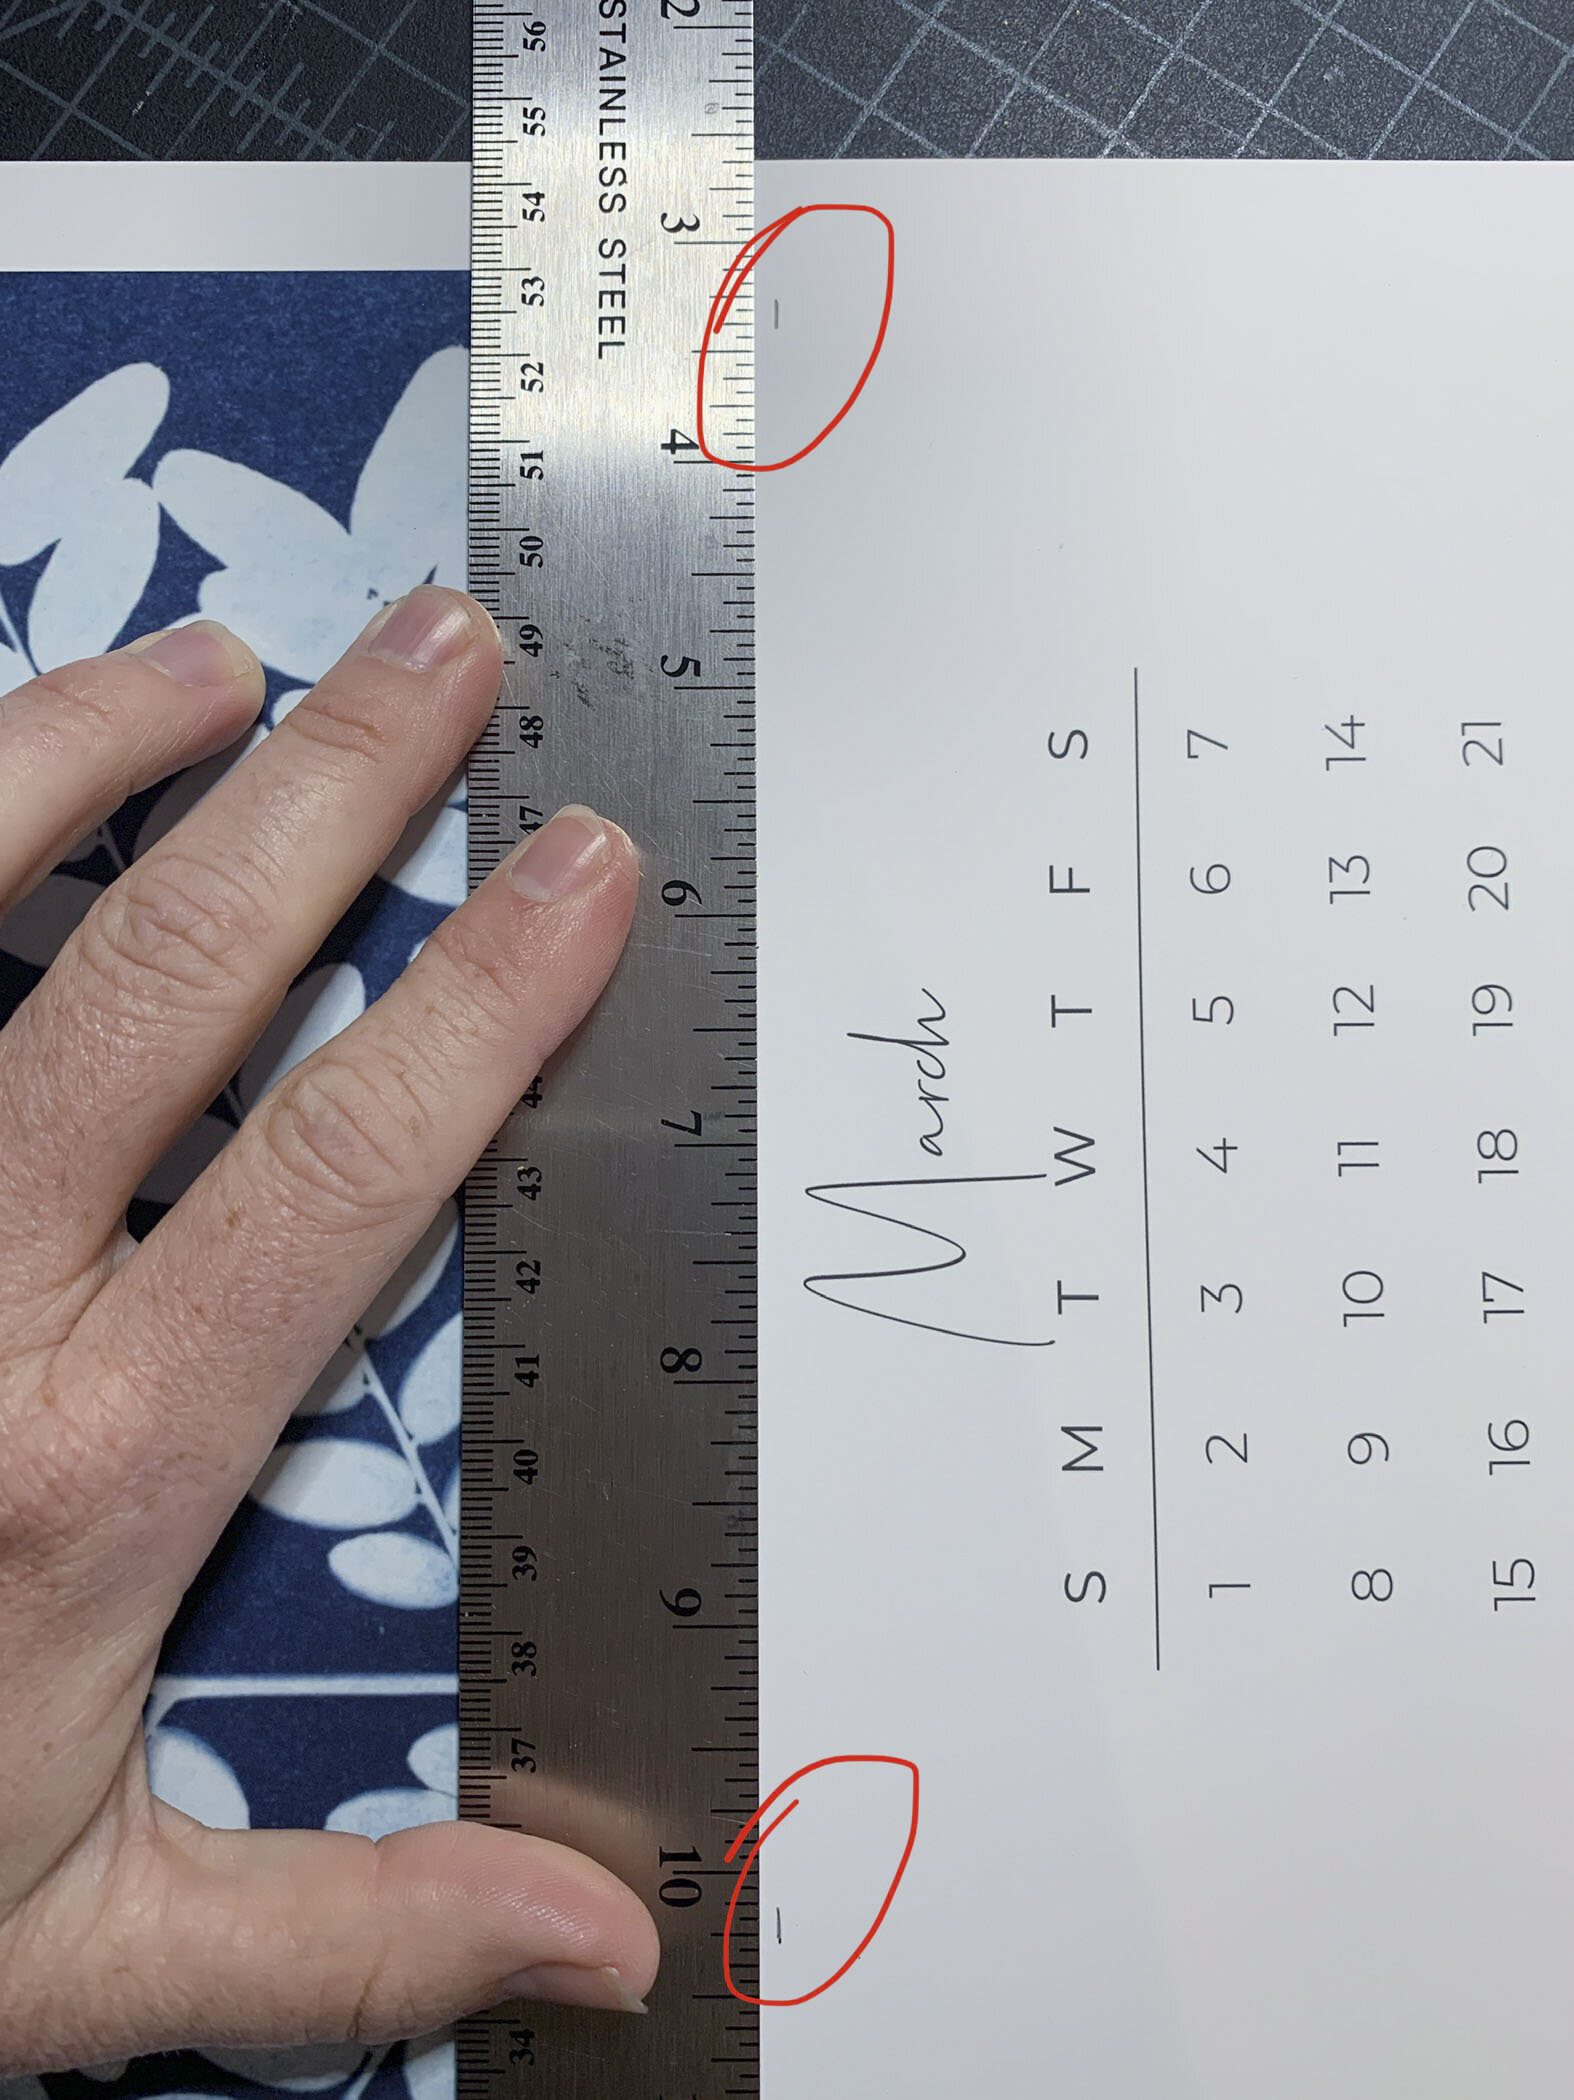
Measure | From the top of the calendar image, measure down 9” and make a hash mark with your pencil.
-
Repeat step 3 | Measure twice so that you have two hash marks that you can line up with your ruler.
-
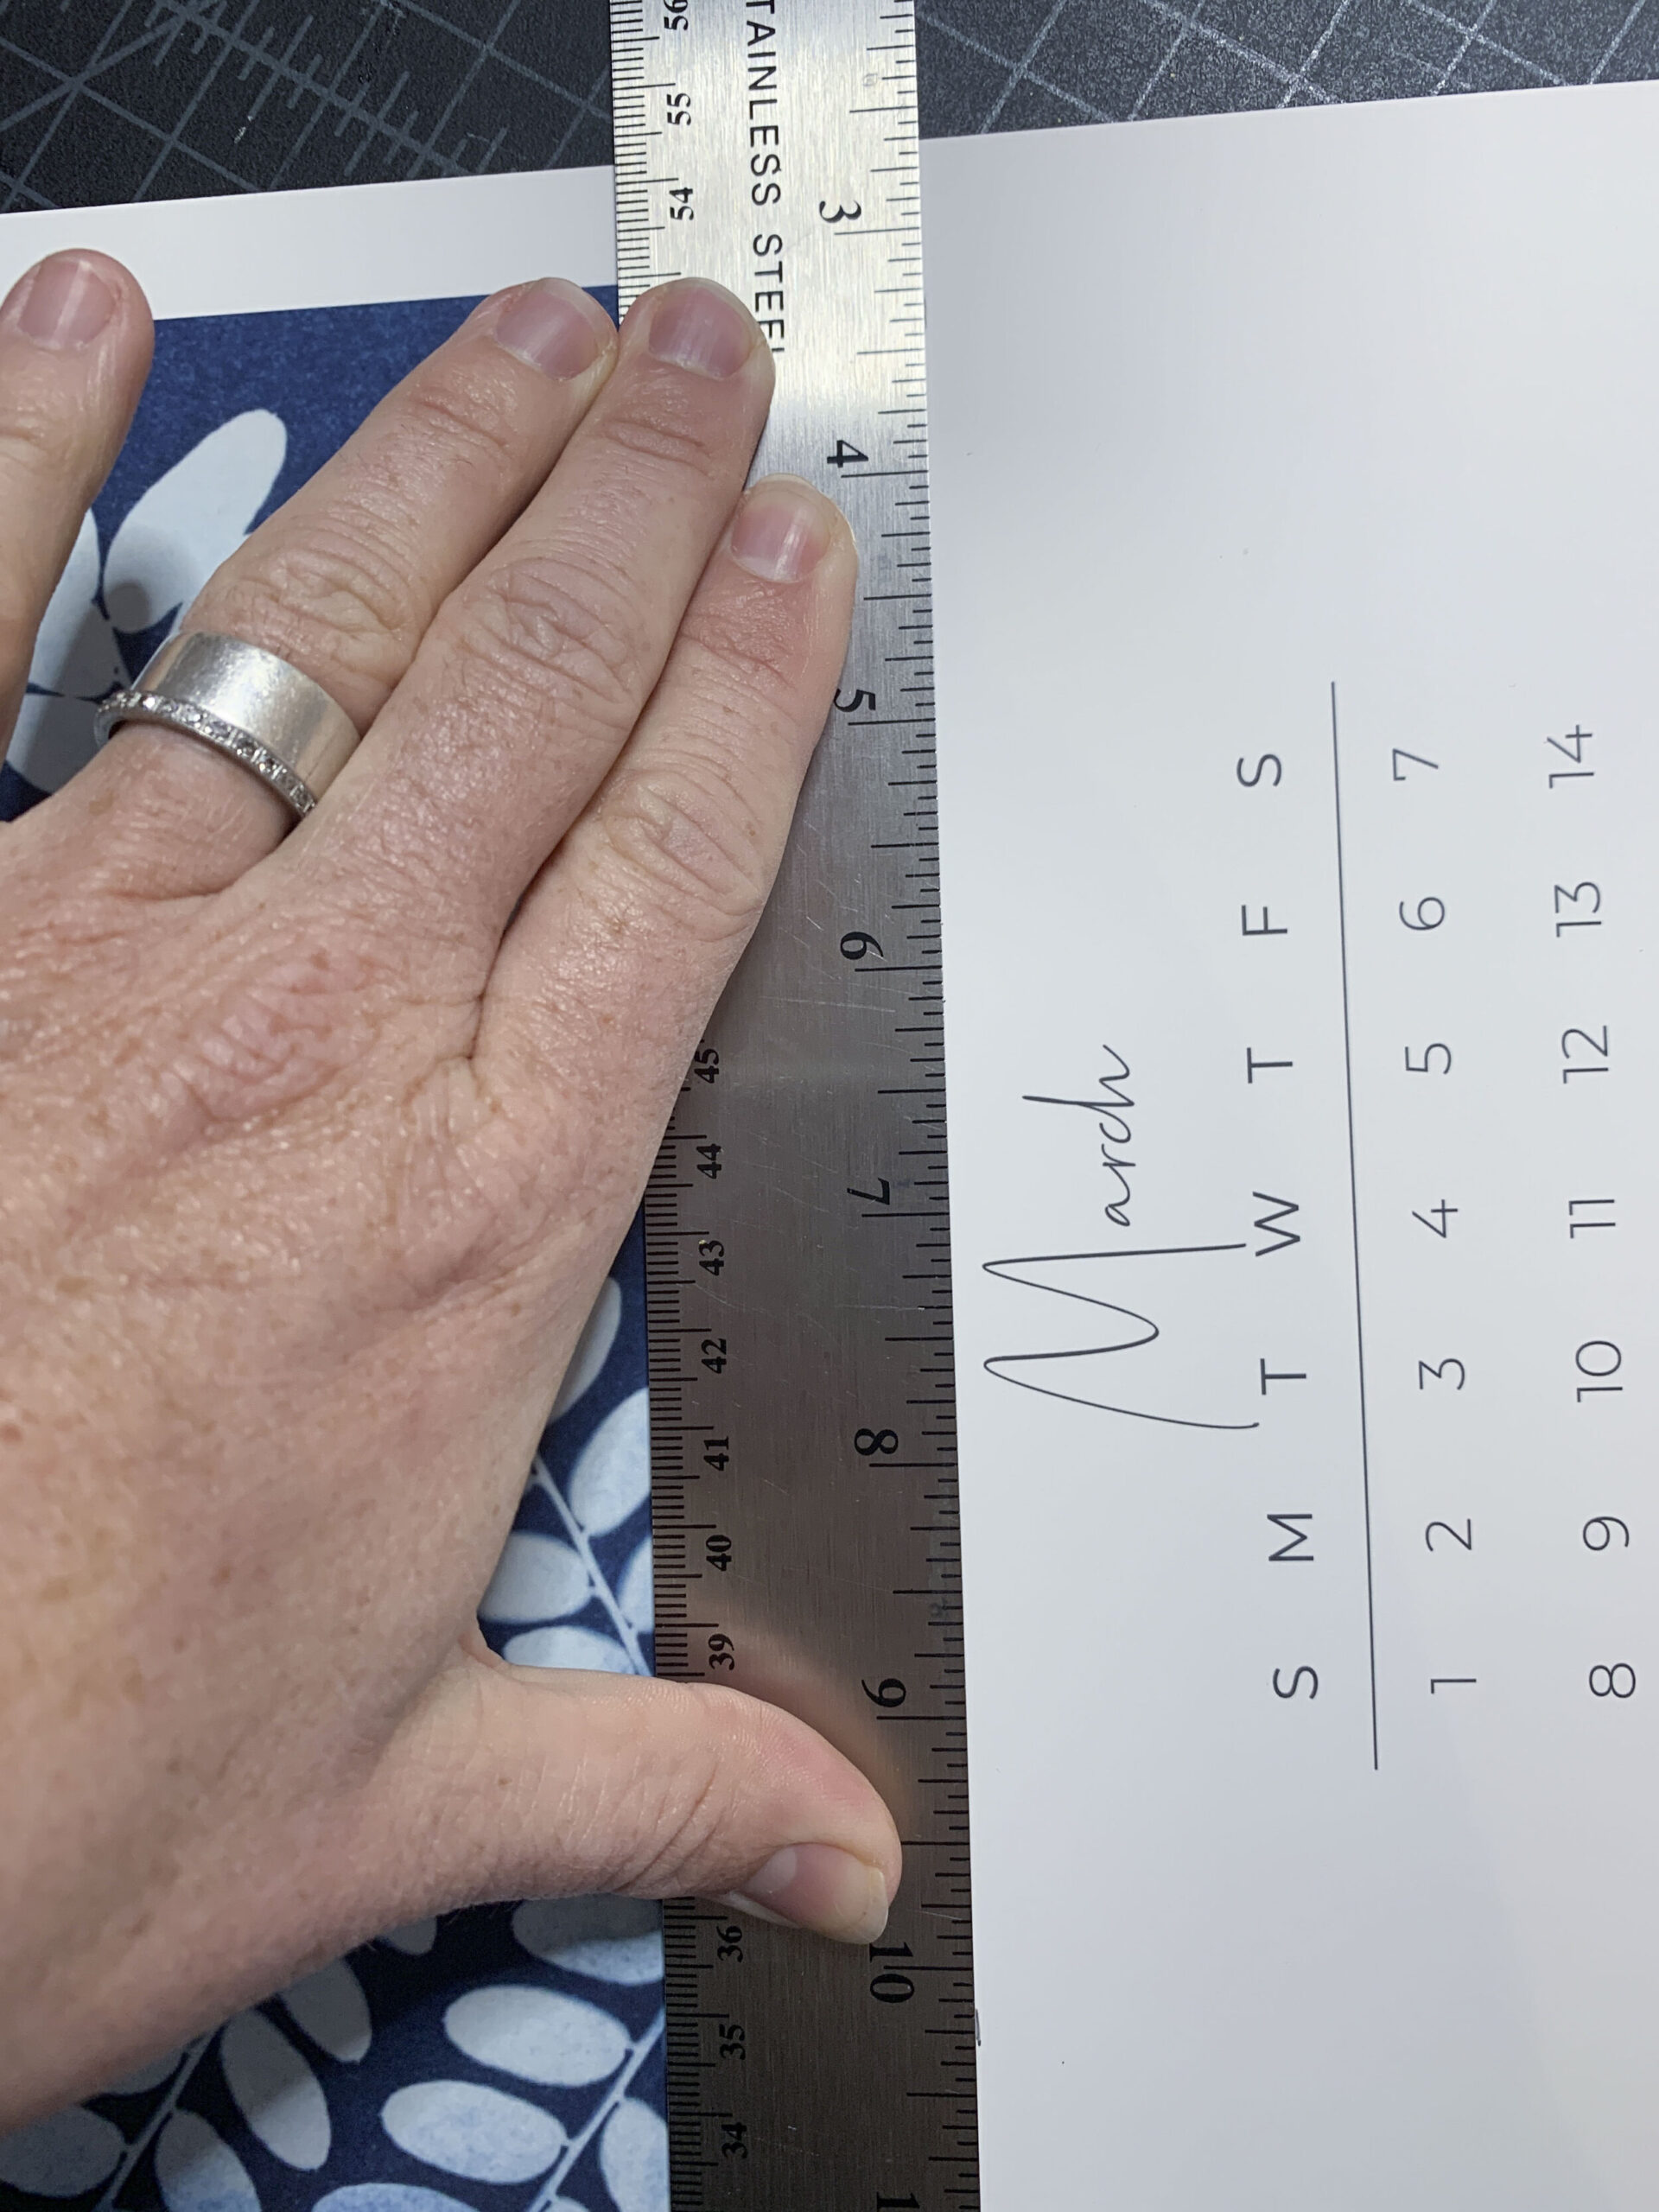
Ruler | Line your ruler up against the two hash marks putting even pressure down the whole ruler.
-
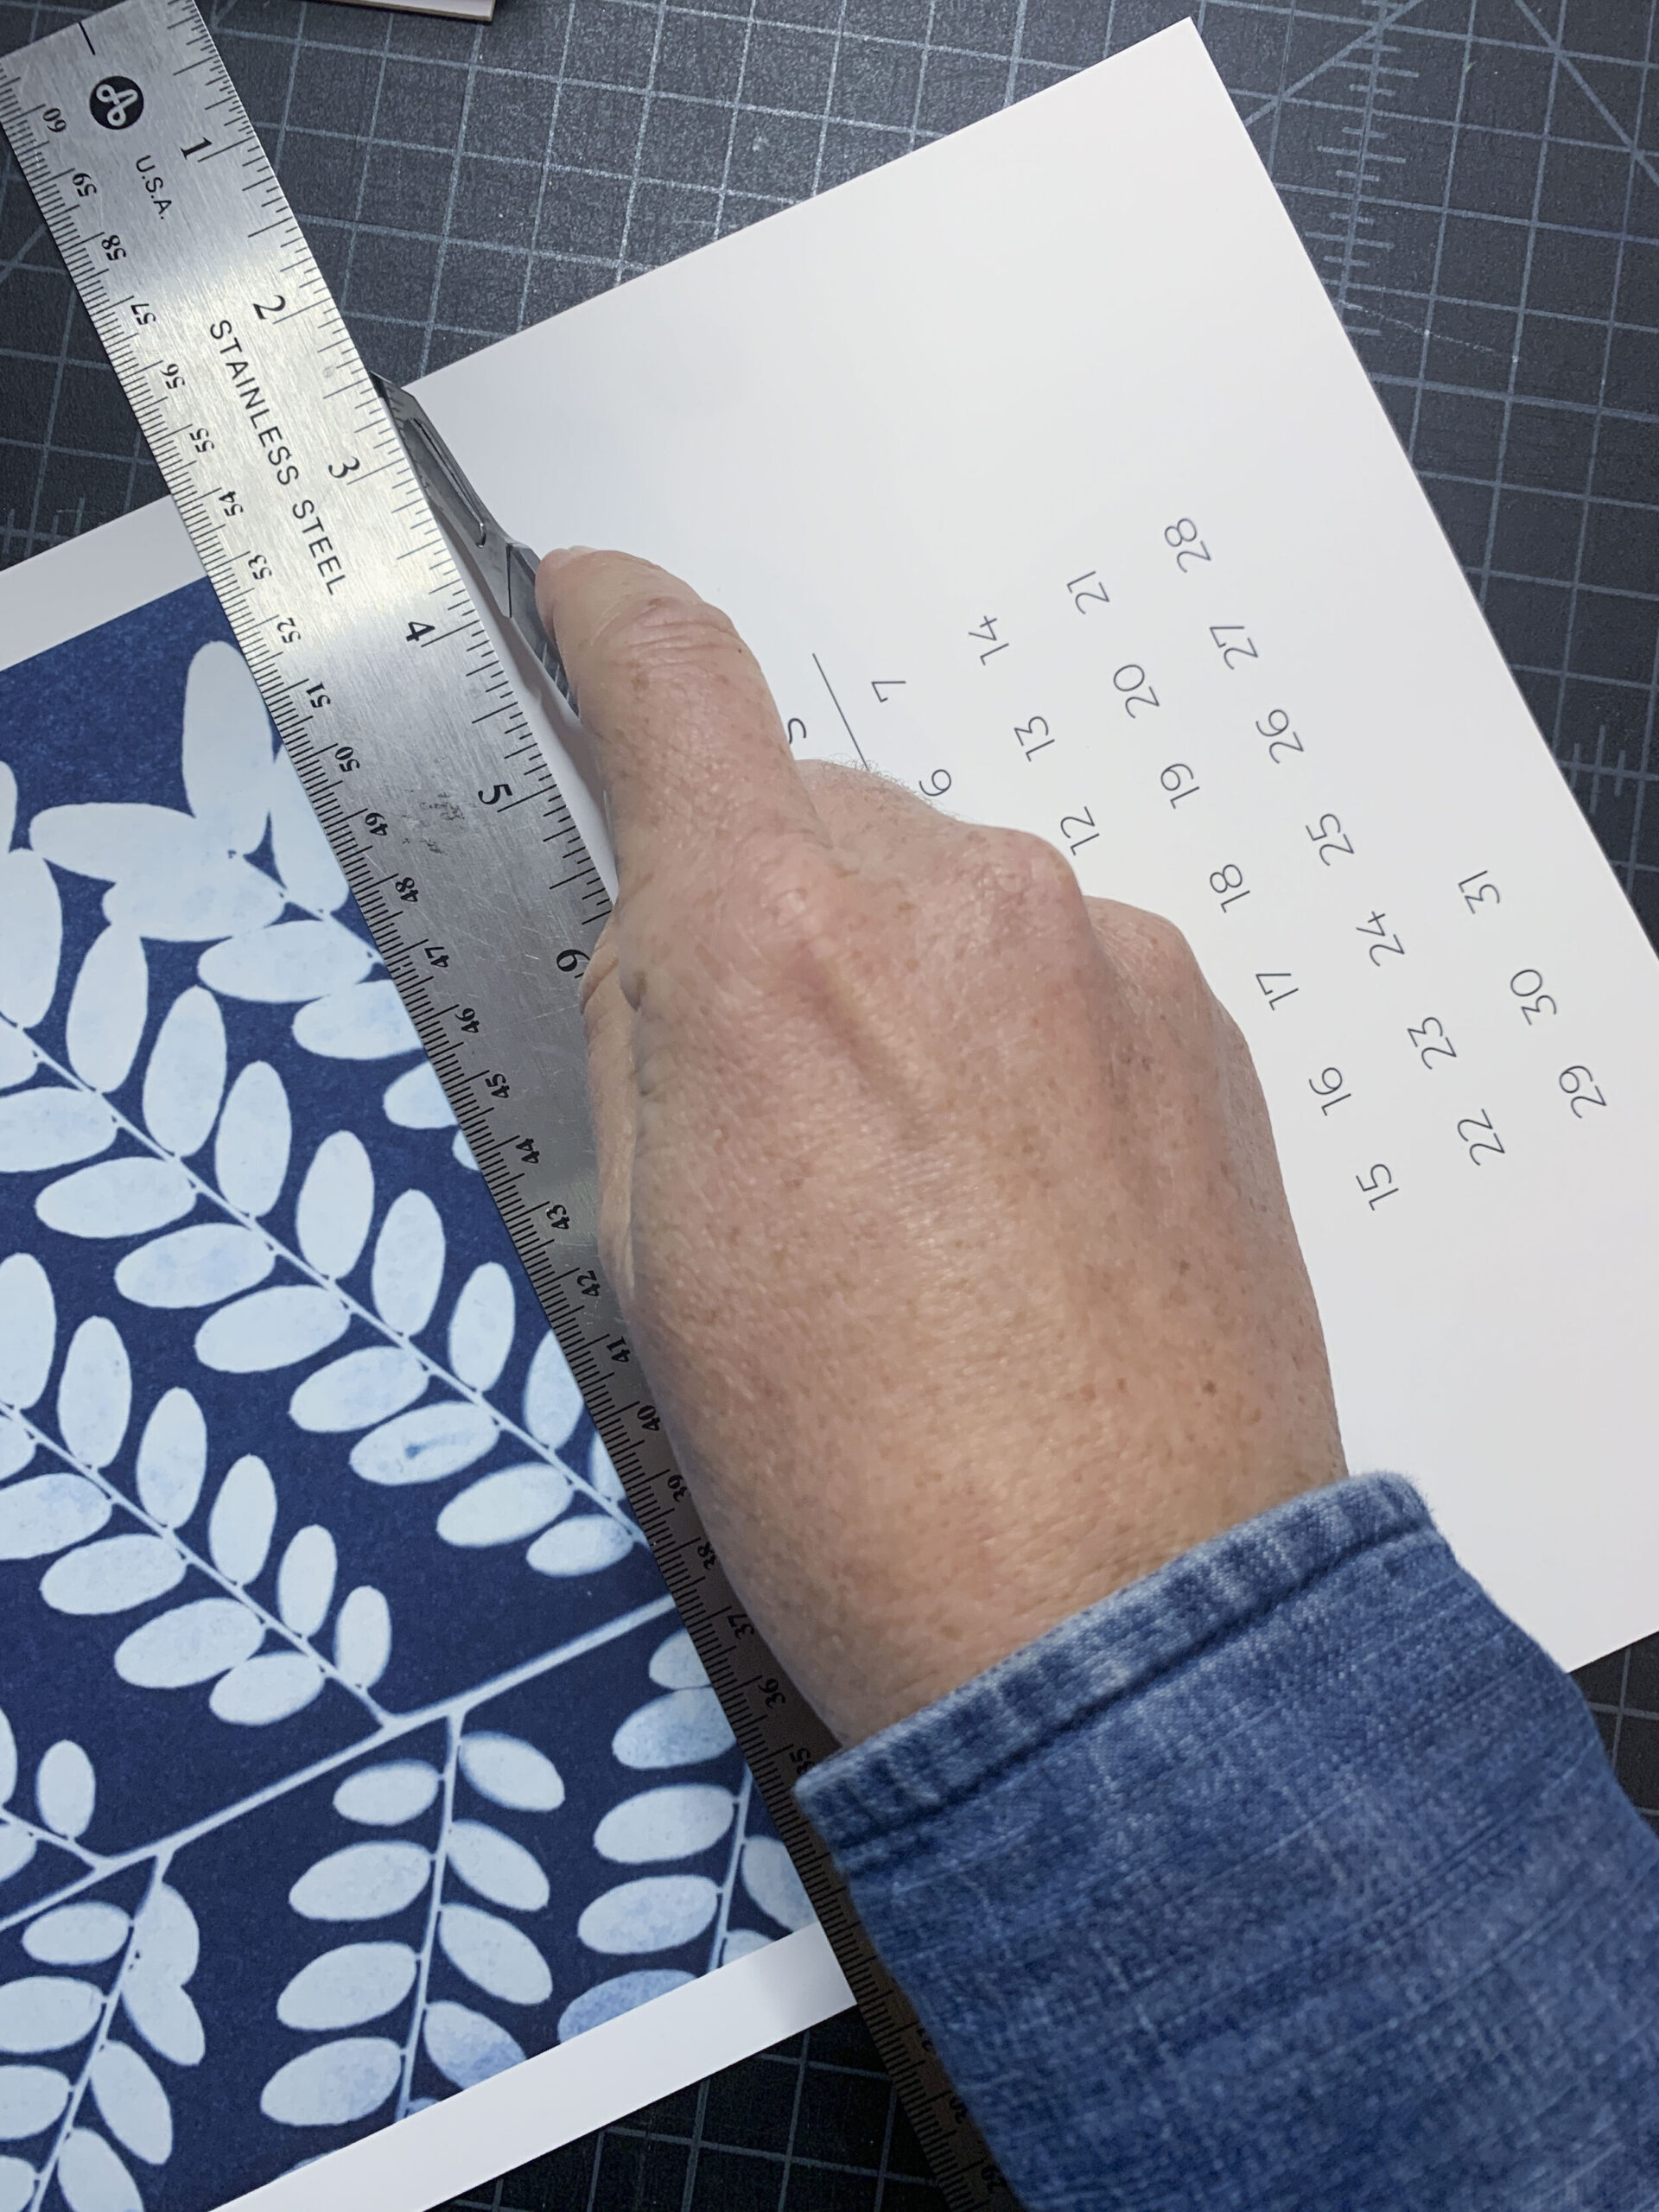
Cut | Holding the ruler with even pressure, put the knife blade down the ruler cutting the square image off of the month section below.
-
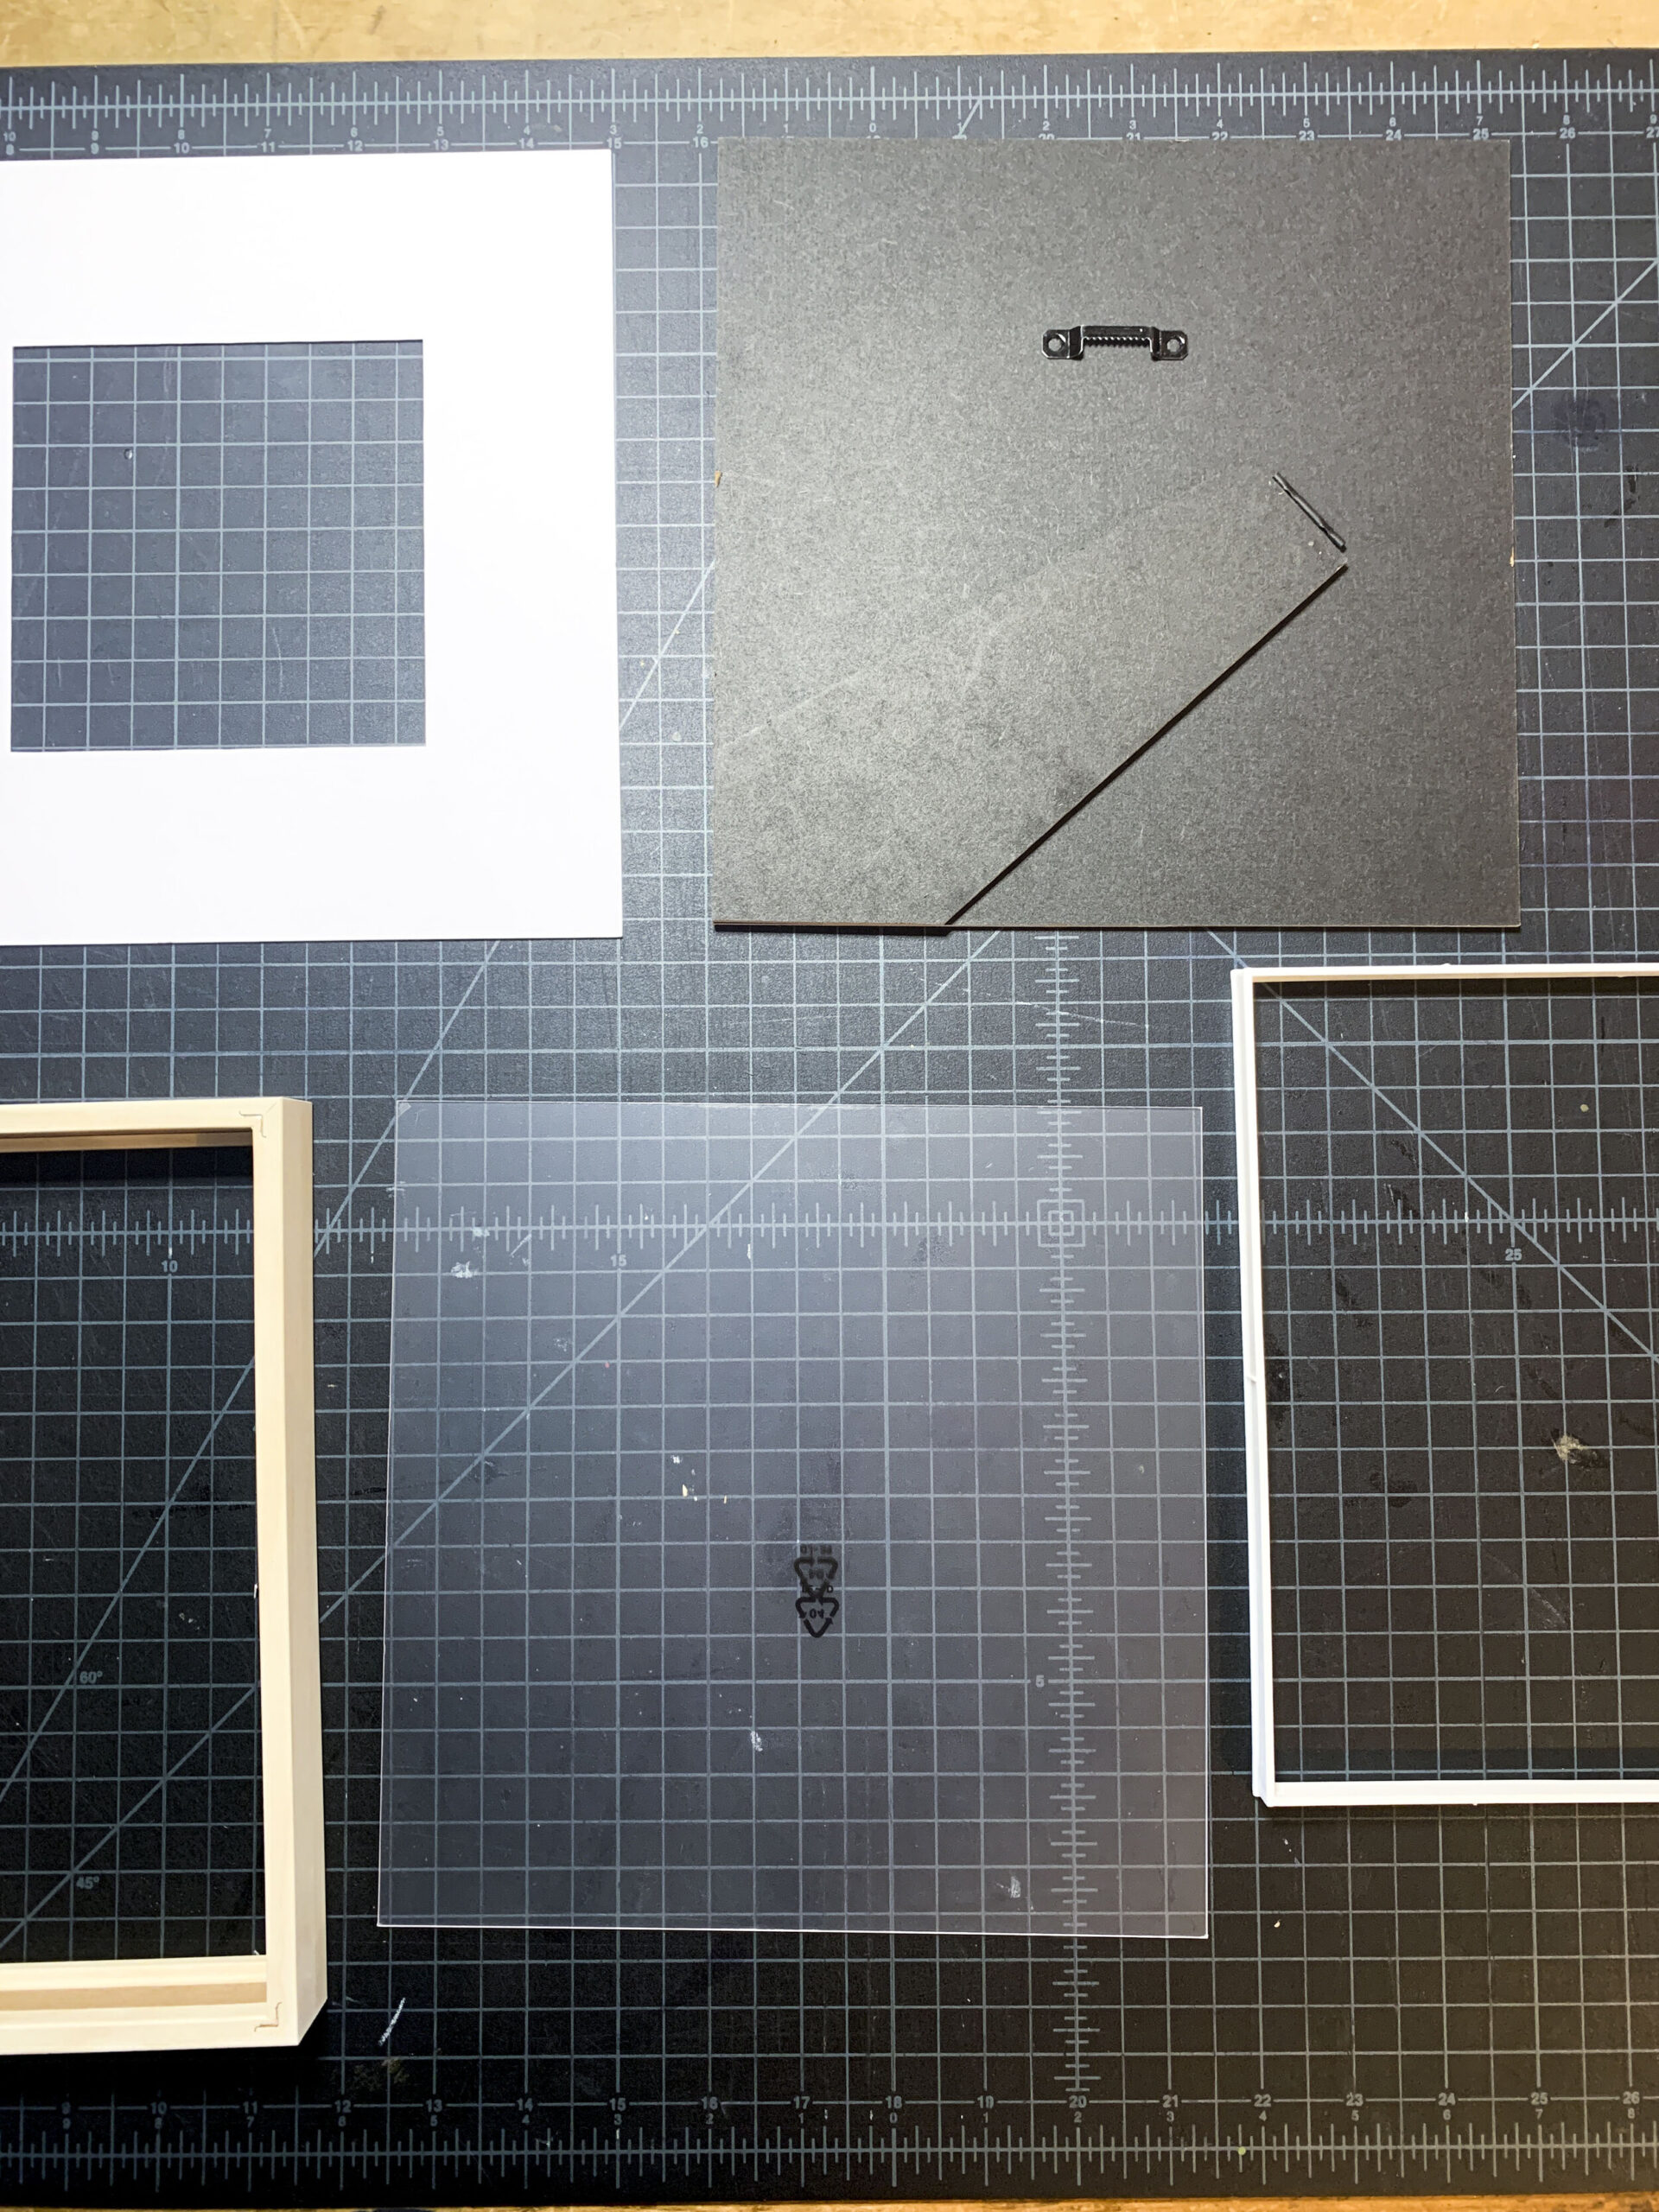
Frame | Disassemble the frame and spread out all the parts.
-
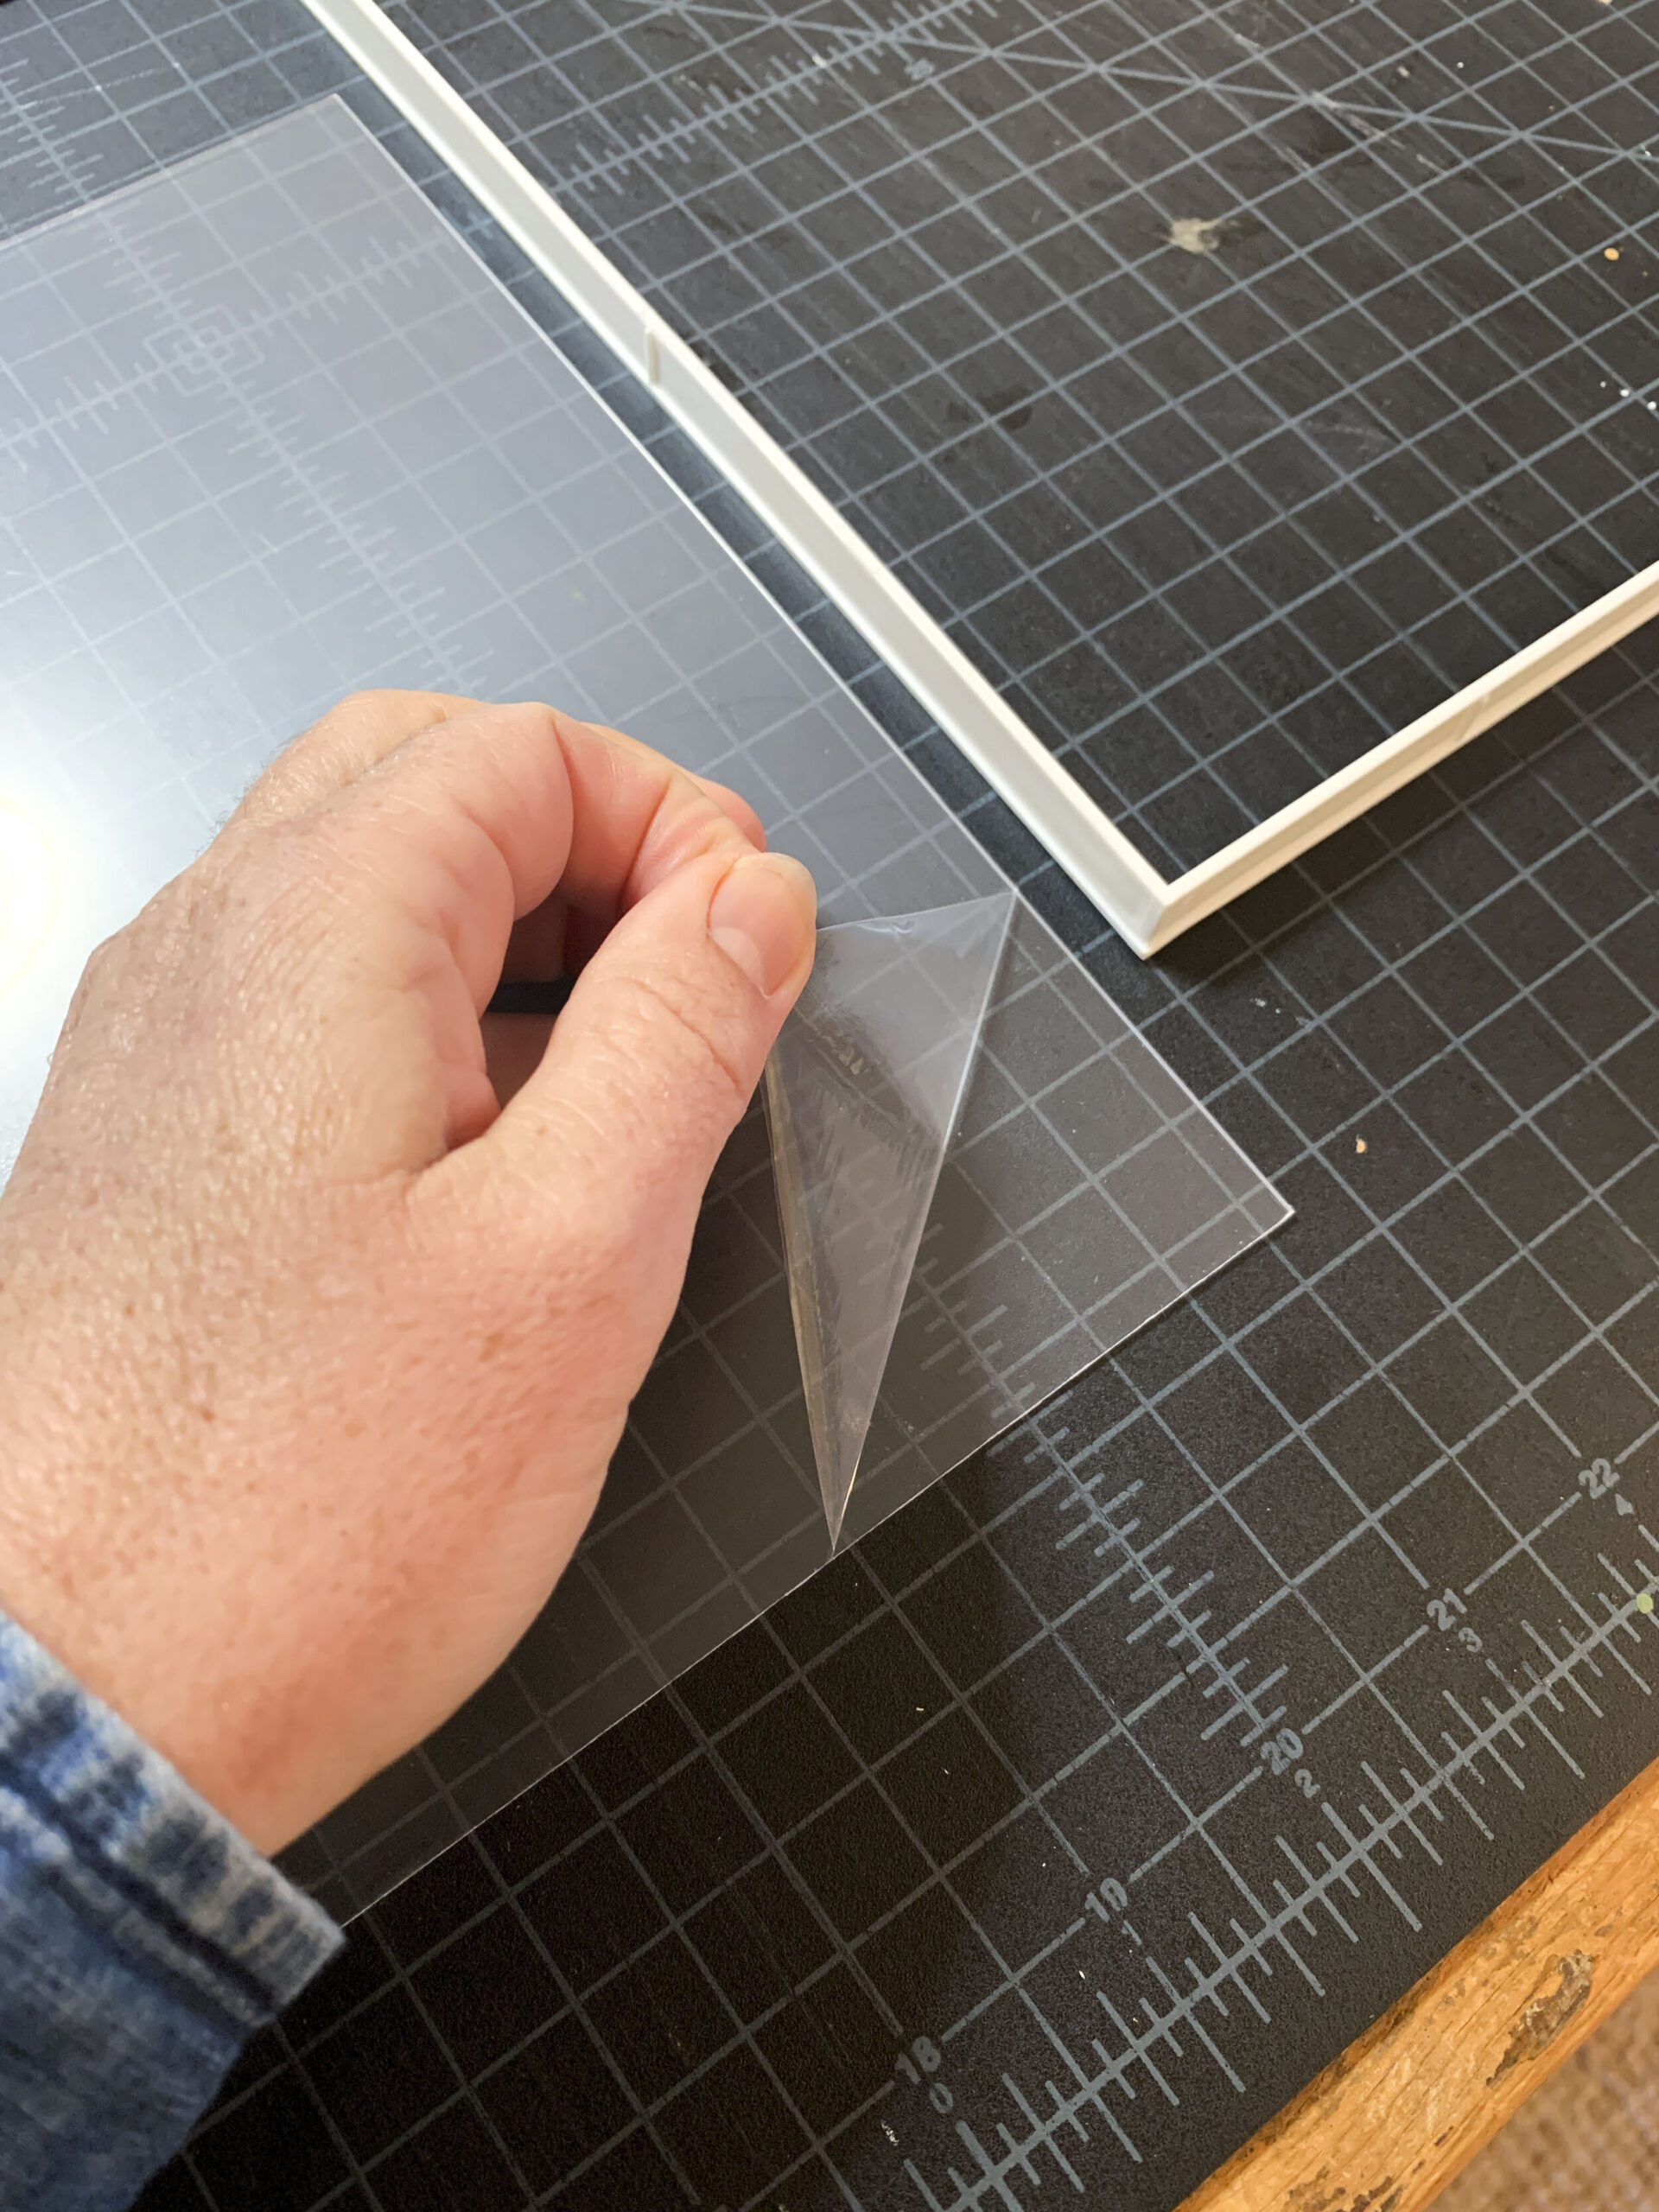
Plexi | Pull the plastic off of the plexi, one side at a time, being sure not to have anything around that can cling to it. Once the plastic comes off, it has a lot of static.
-
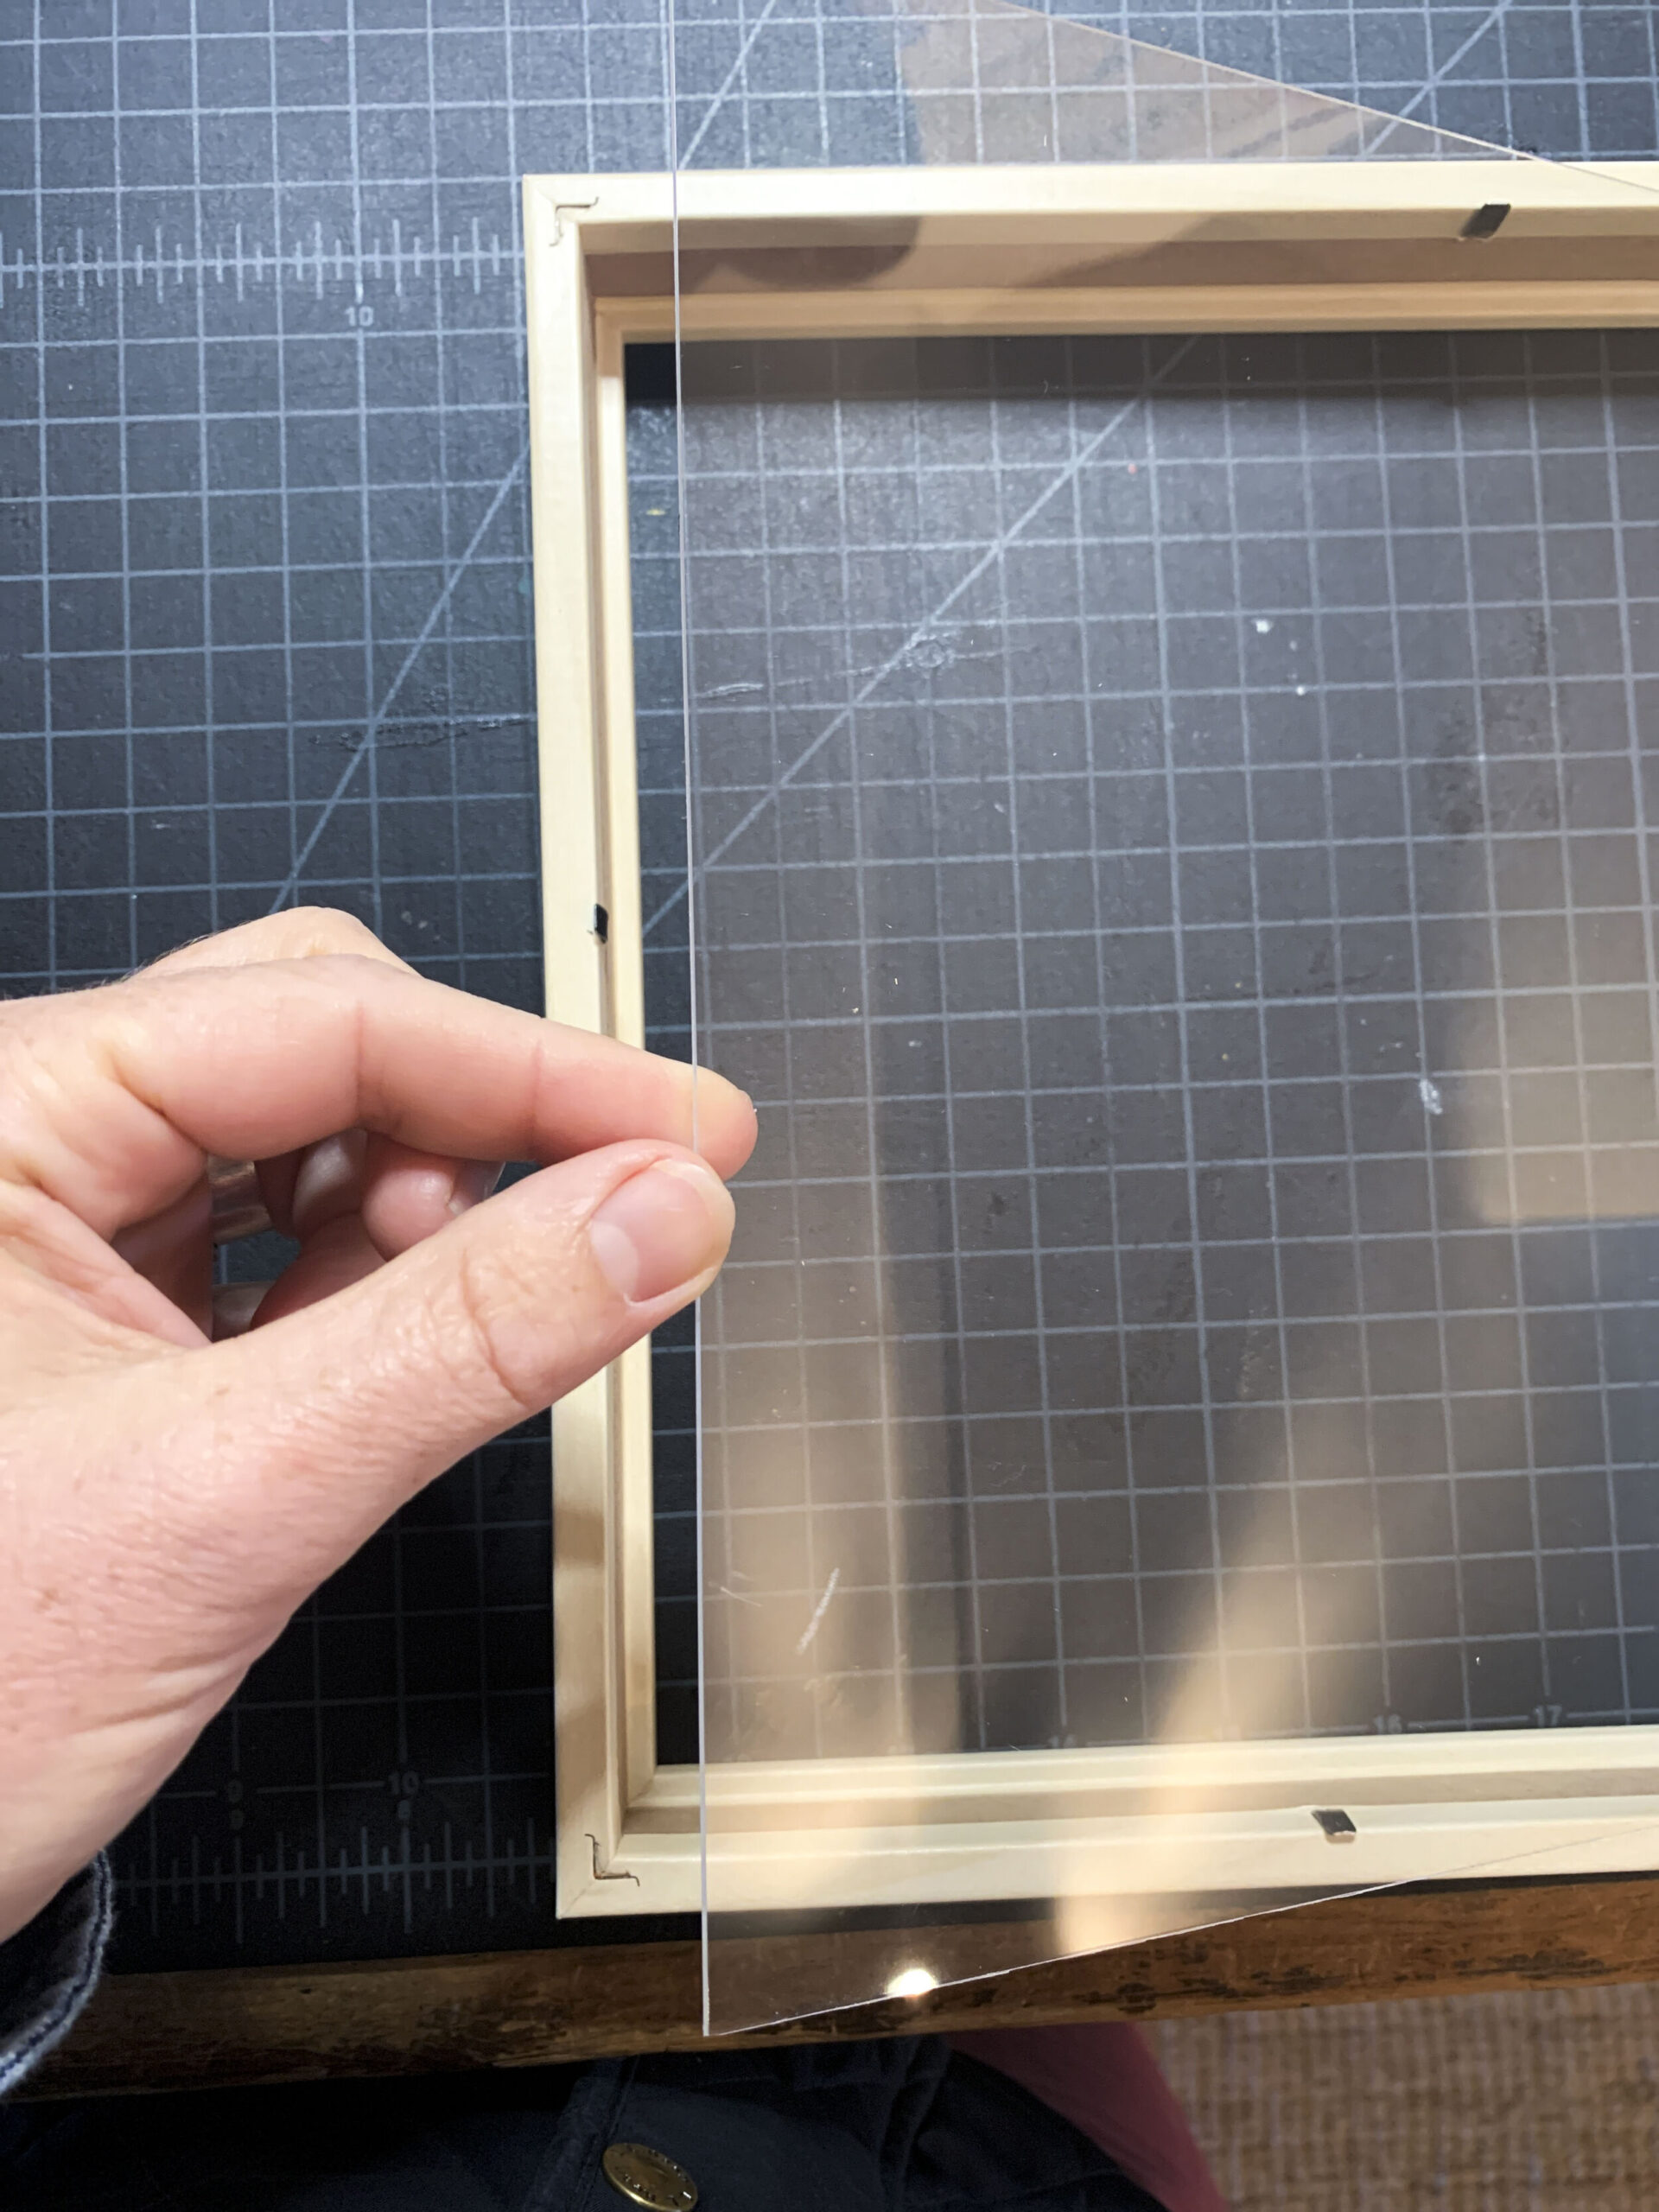
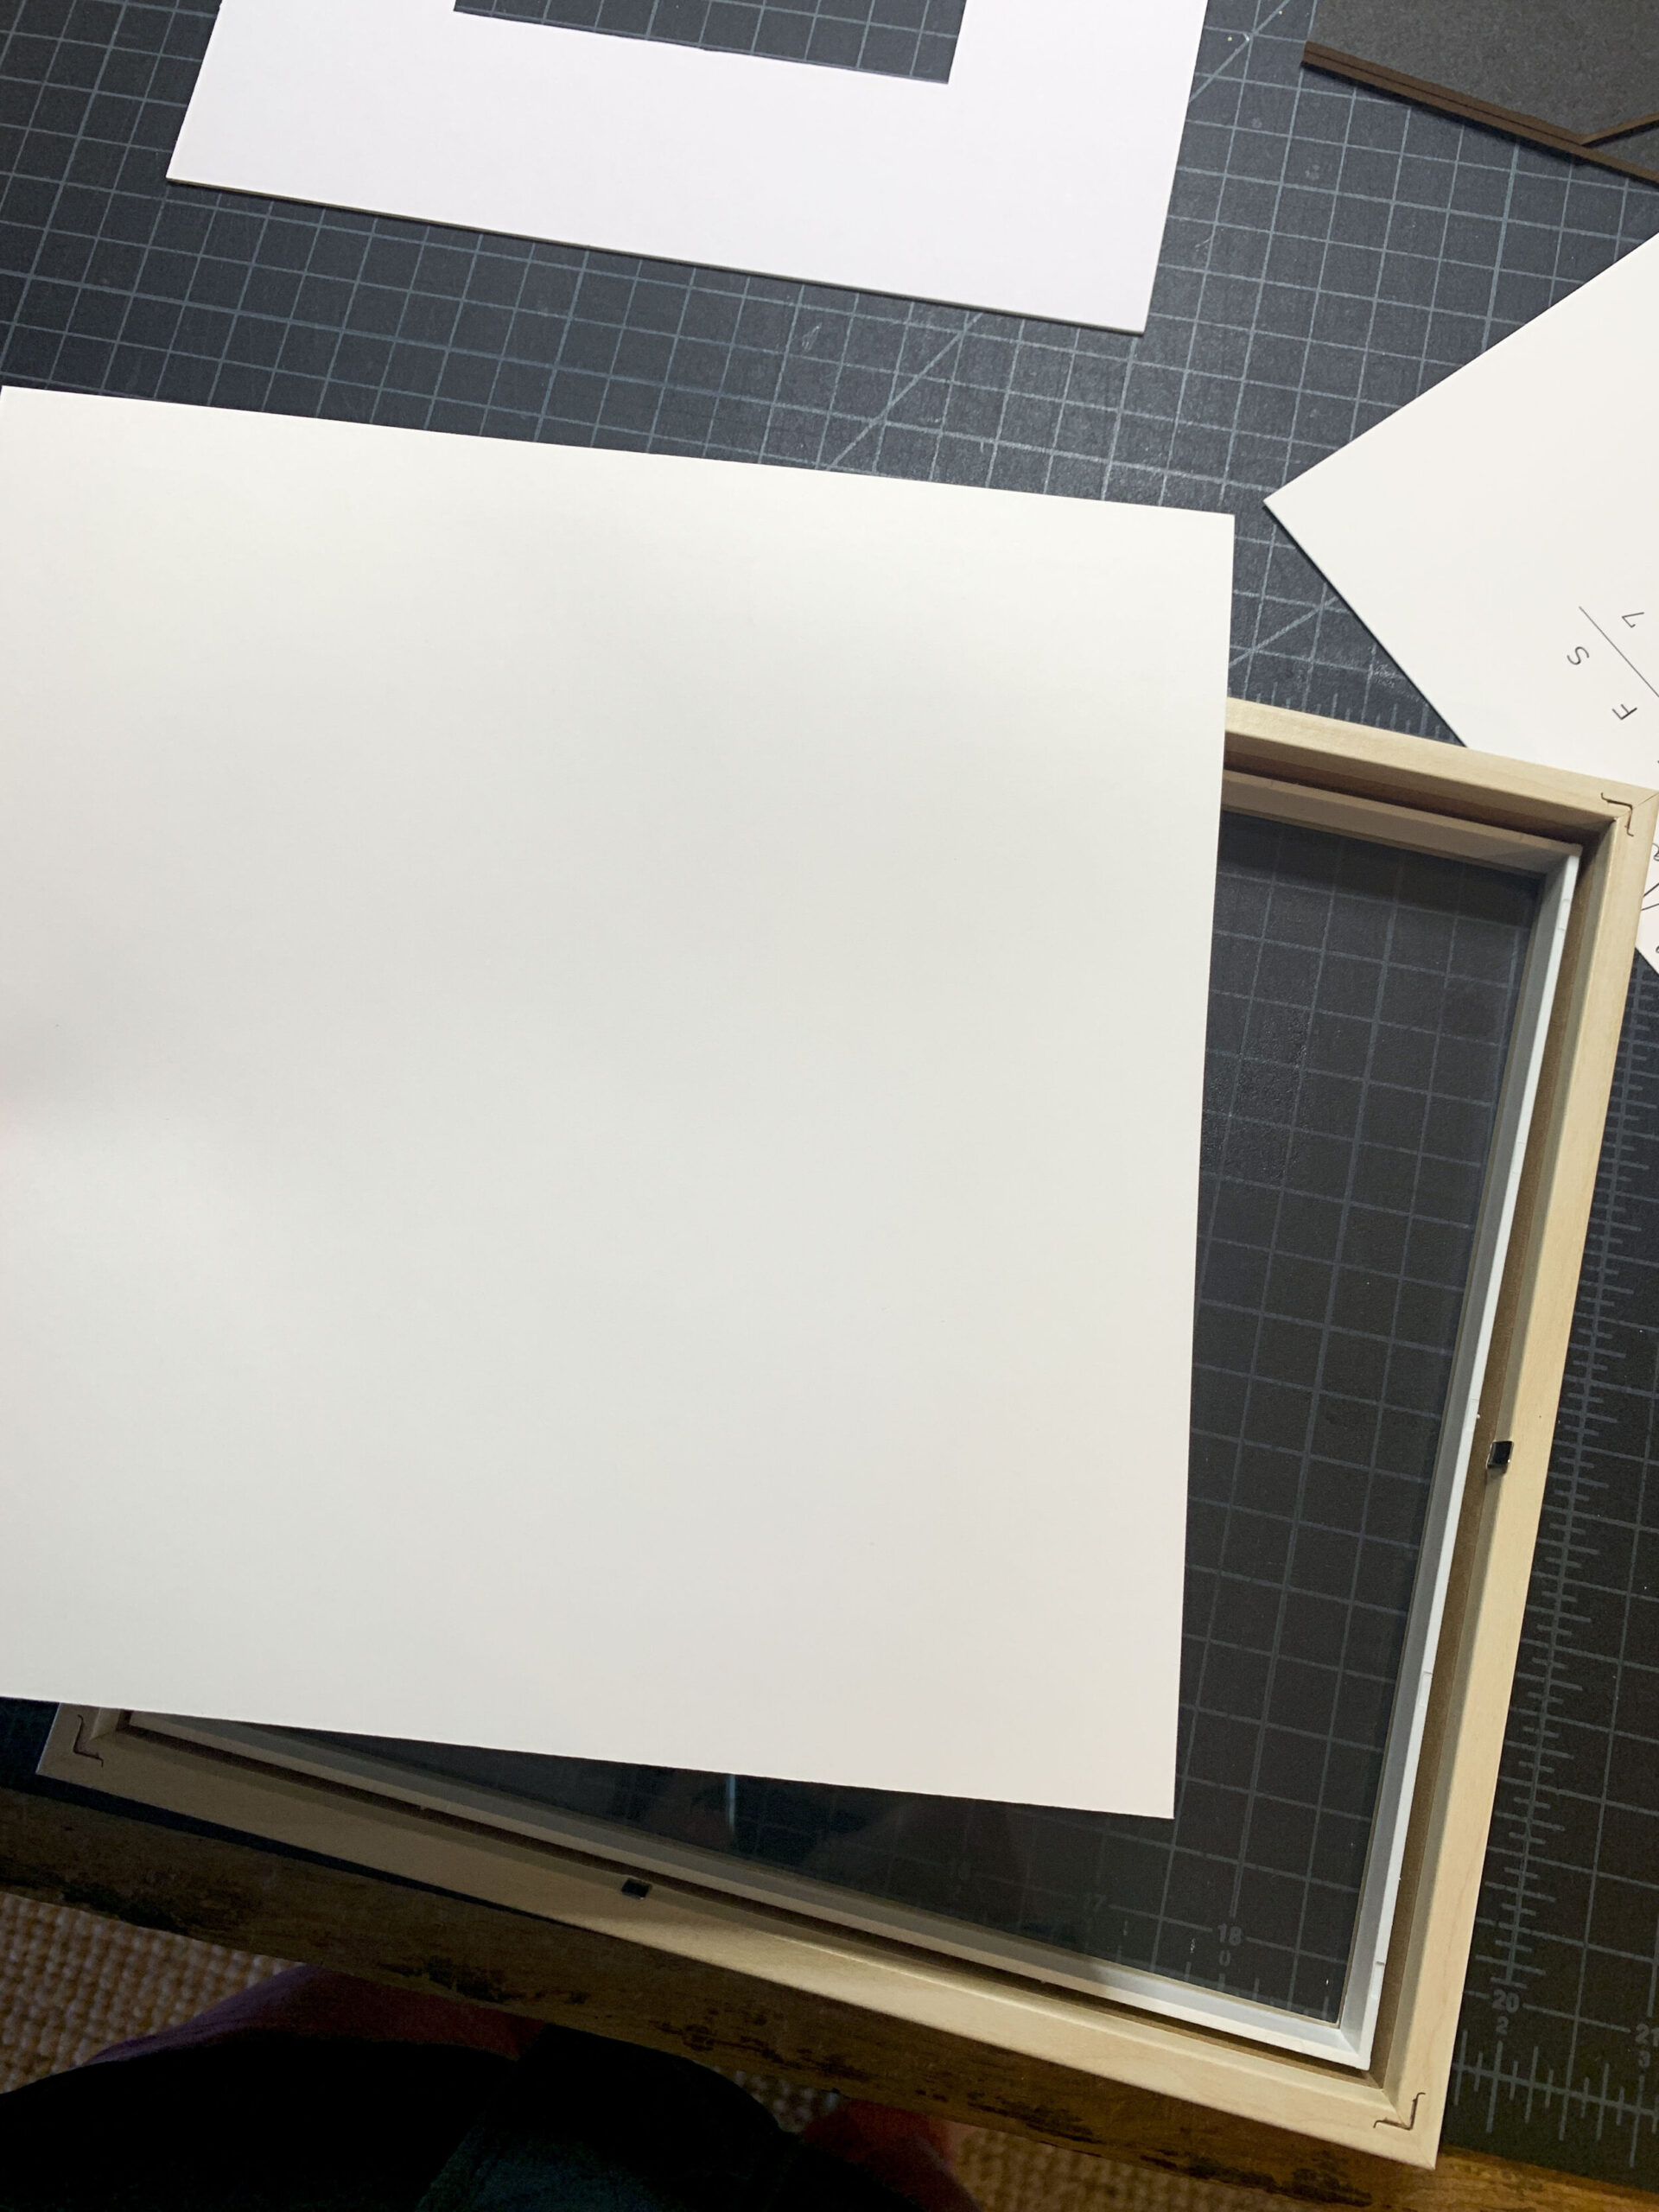
Assemble | On a clean surface, begin the assembly by placing the plexi inside the frame.
-
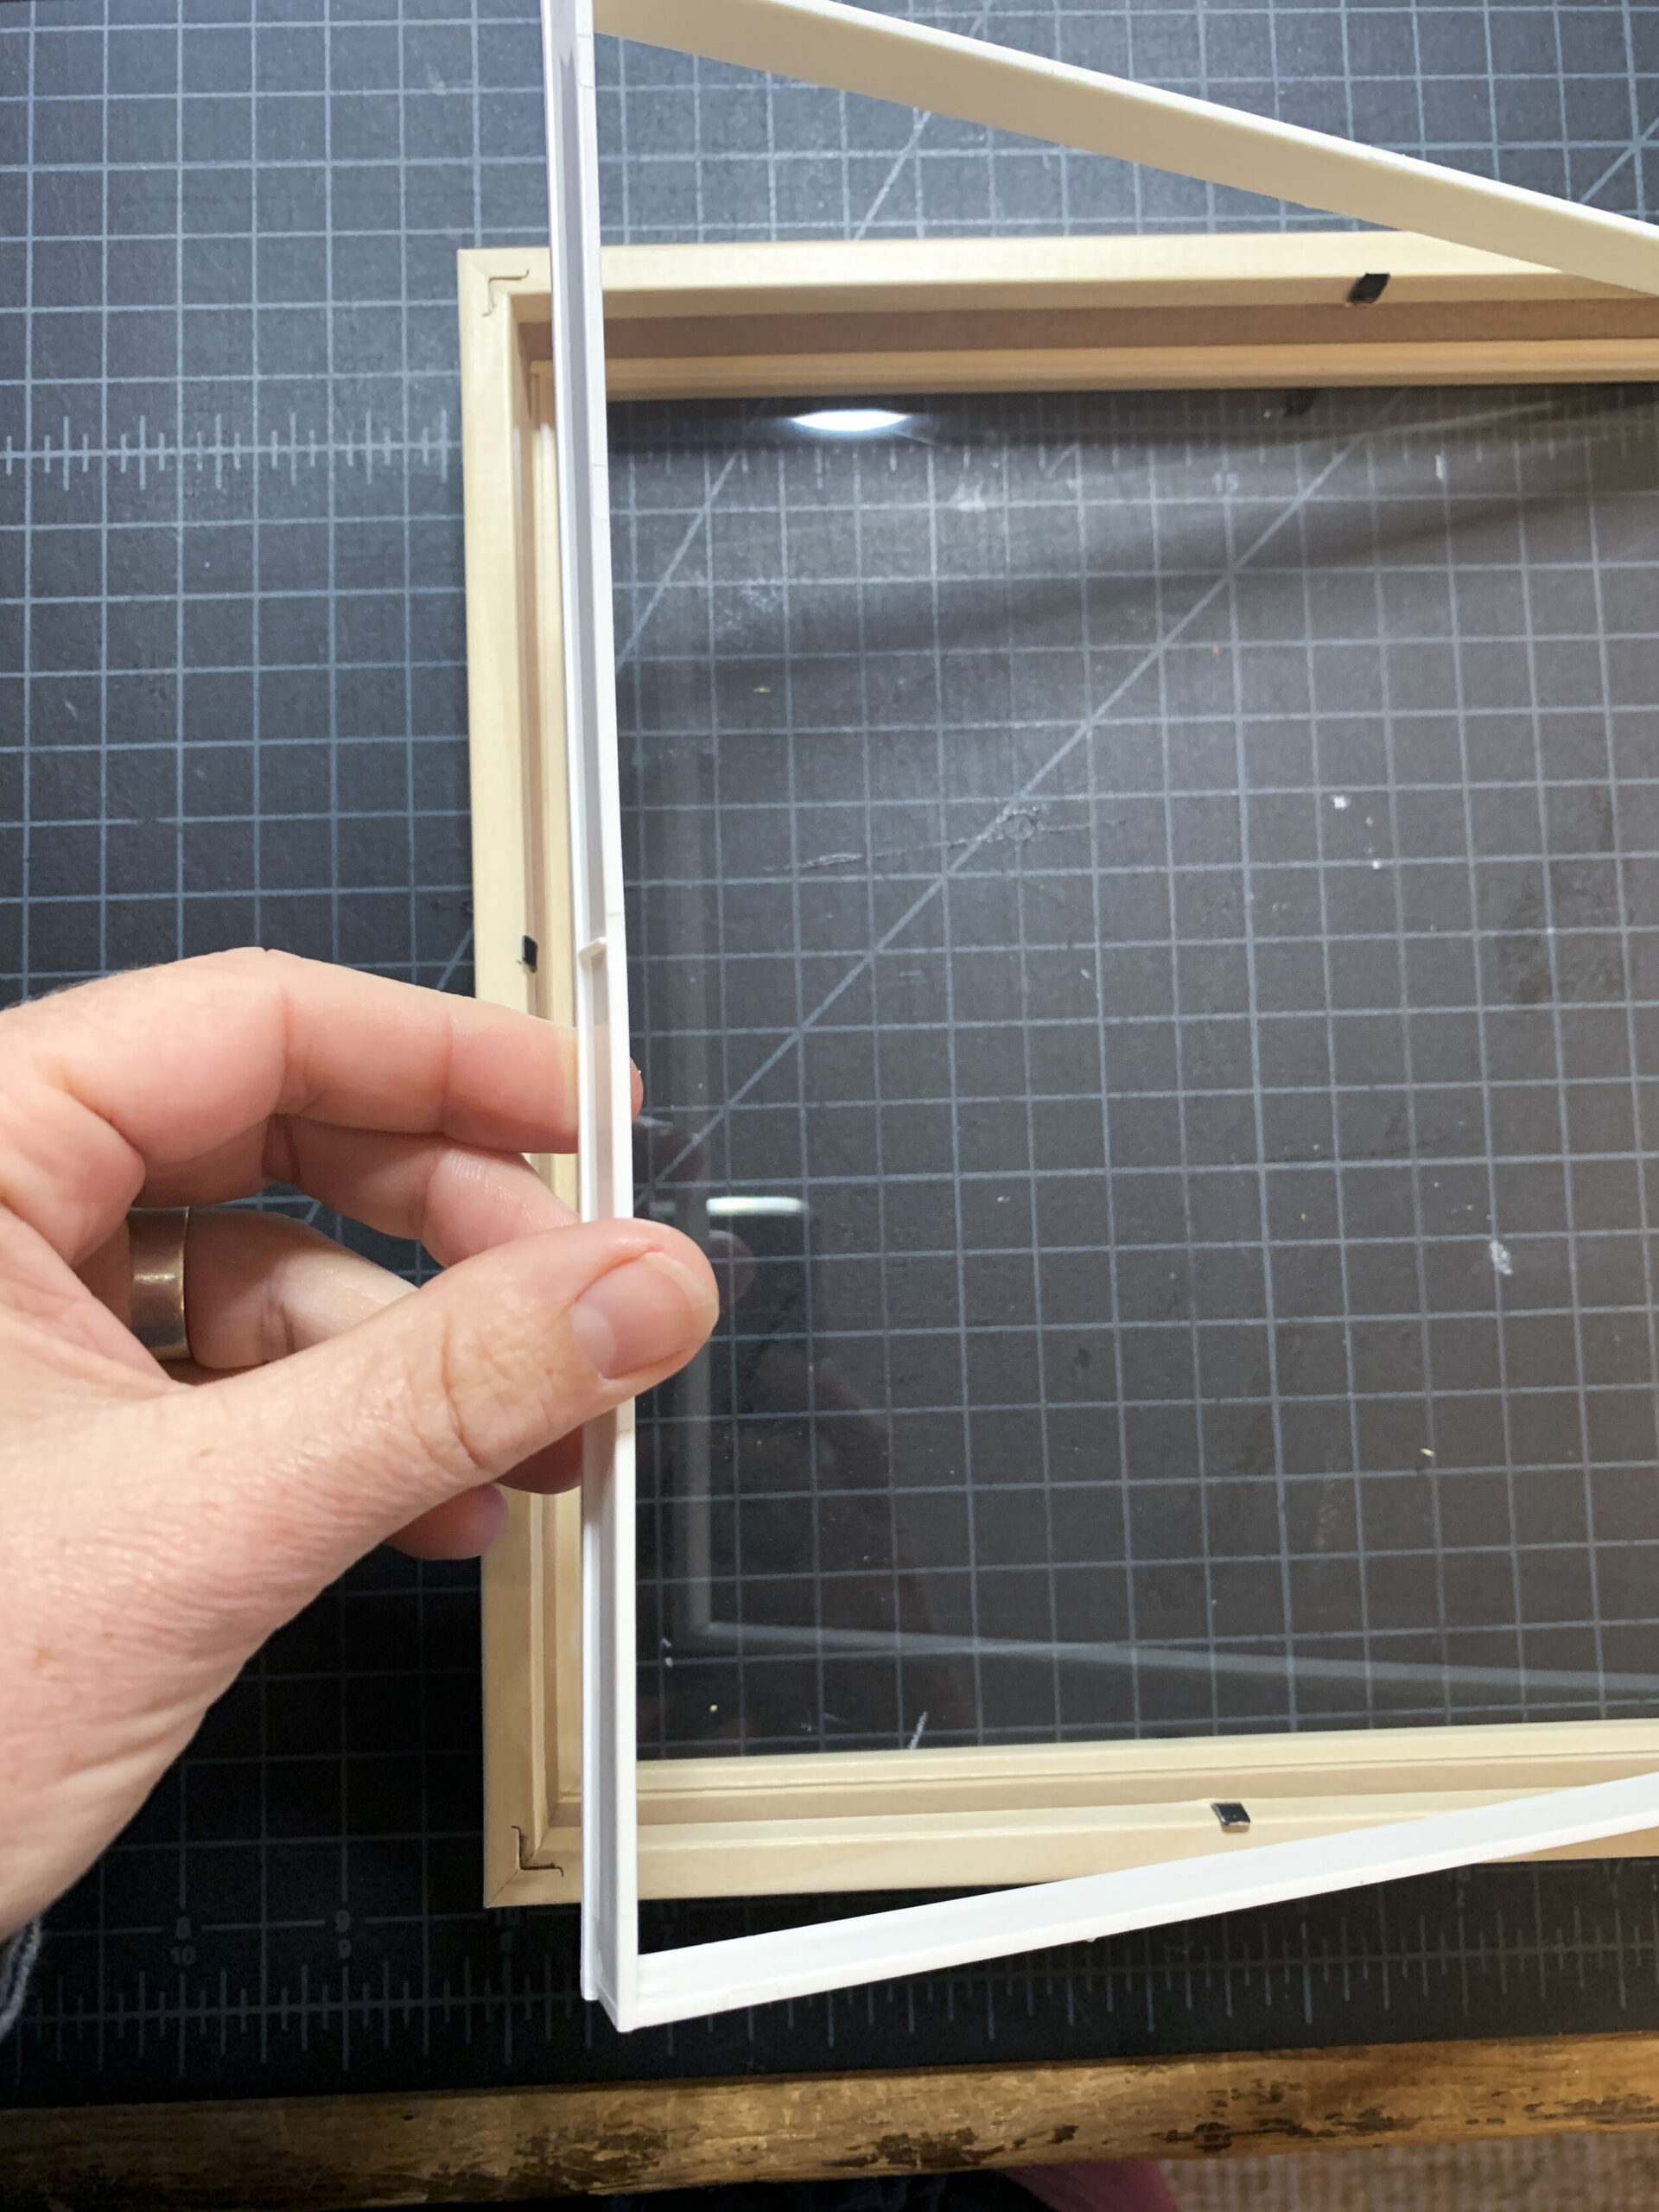
Assemble | Place the white, rectangular spacer inside in the frame.
-
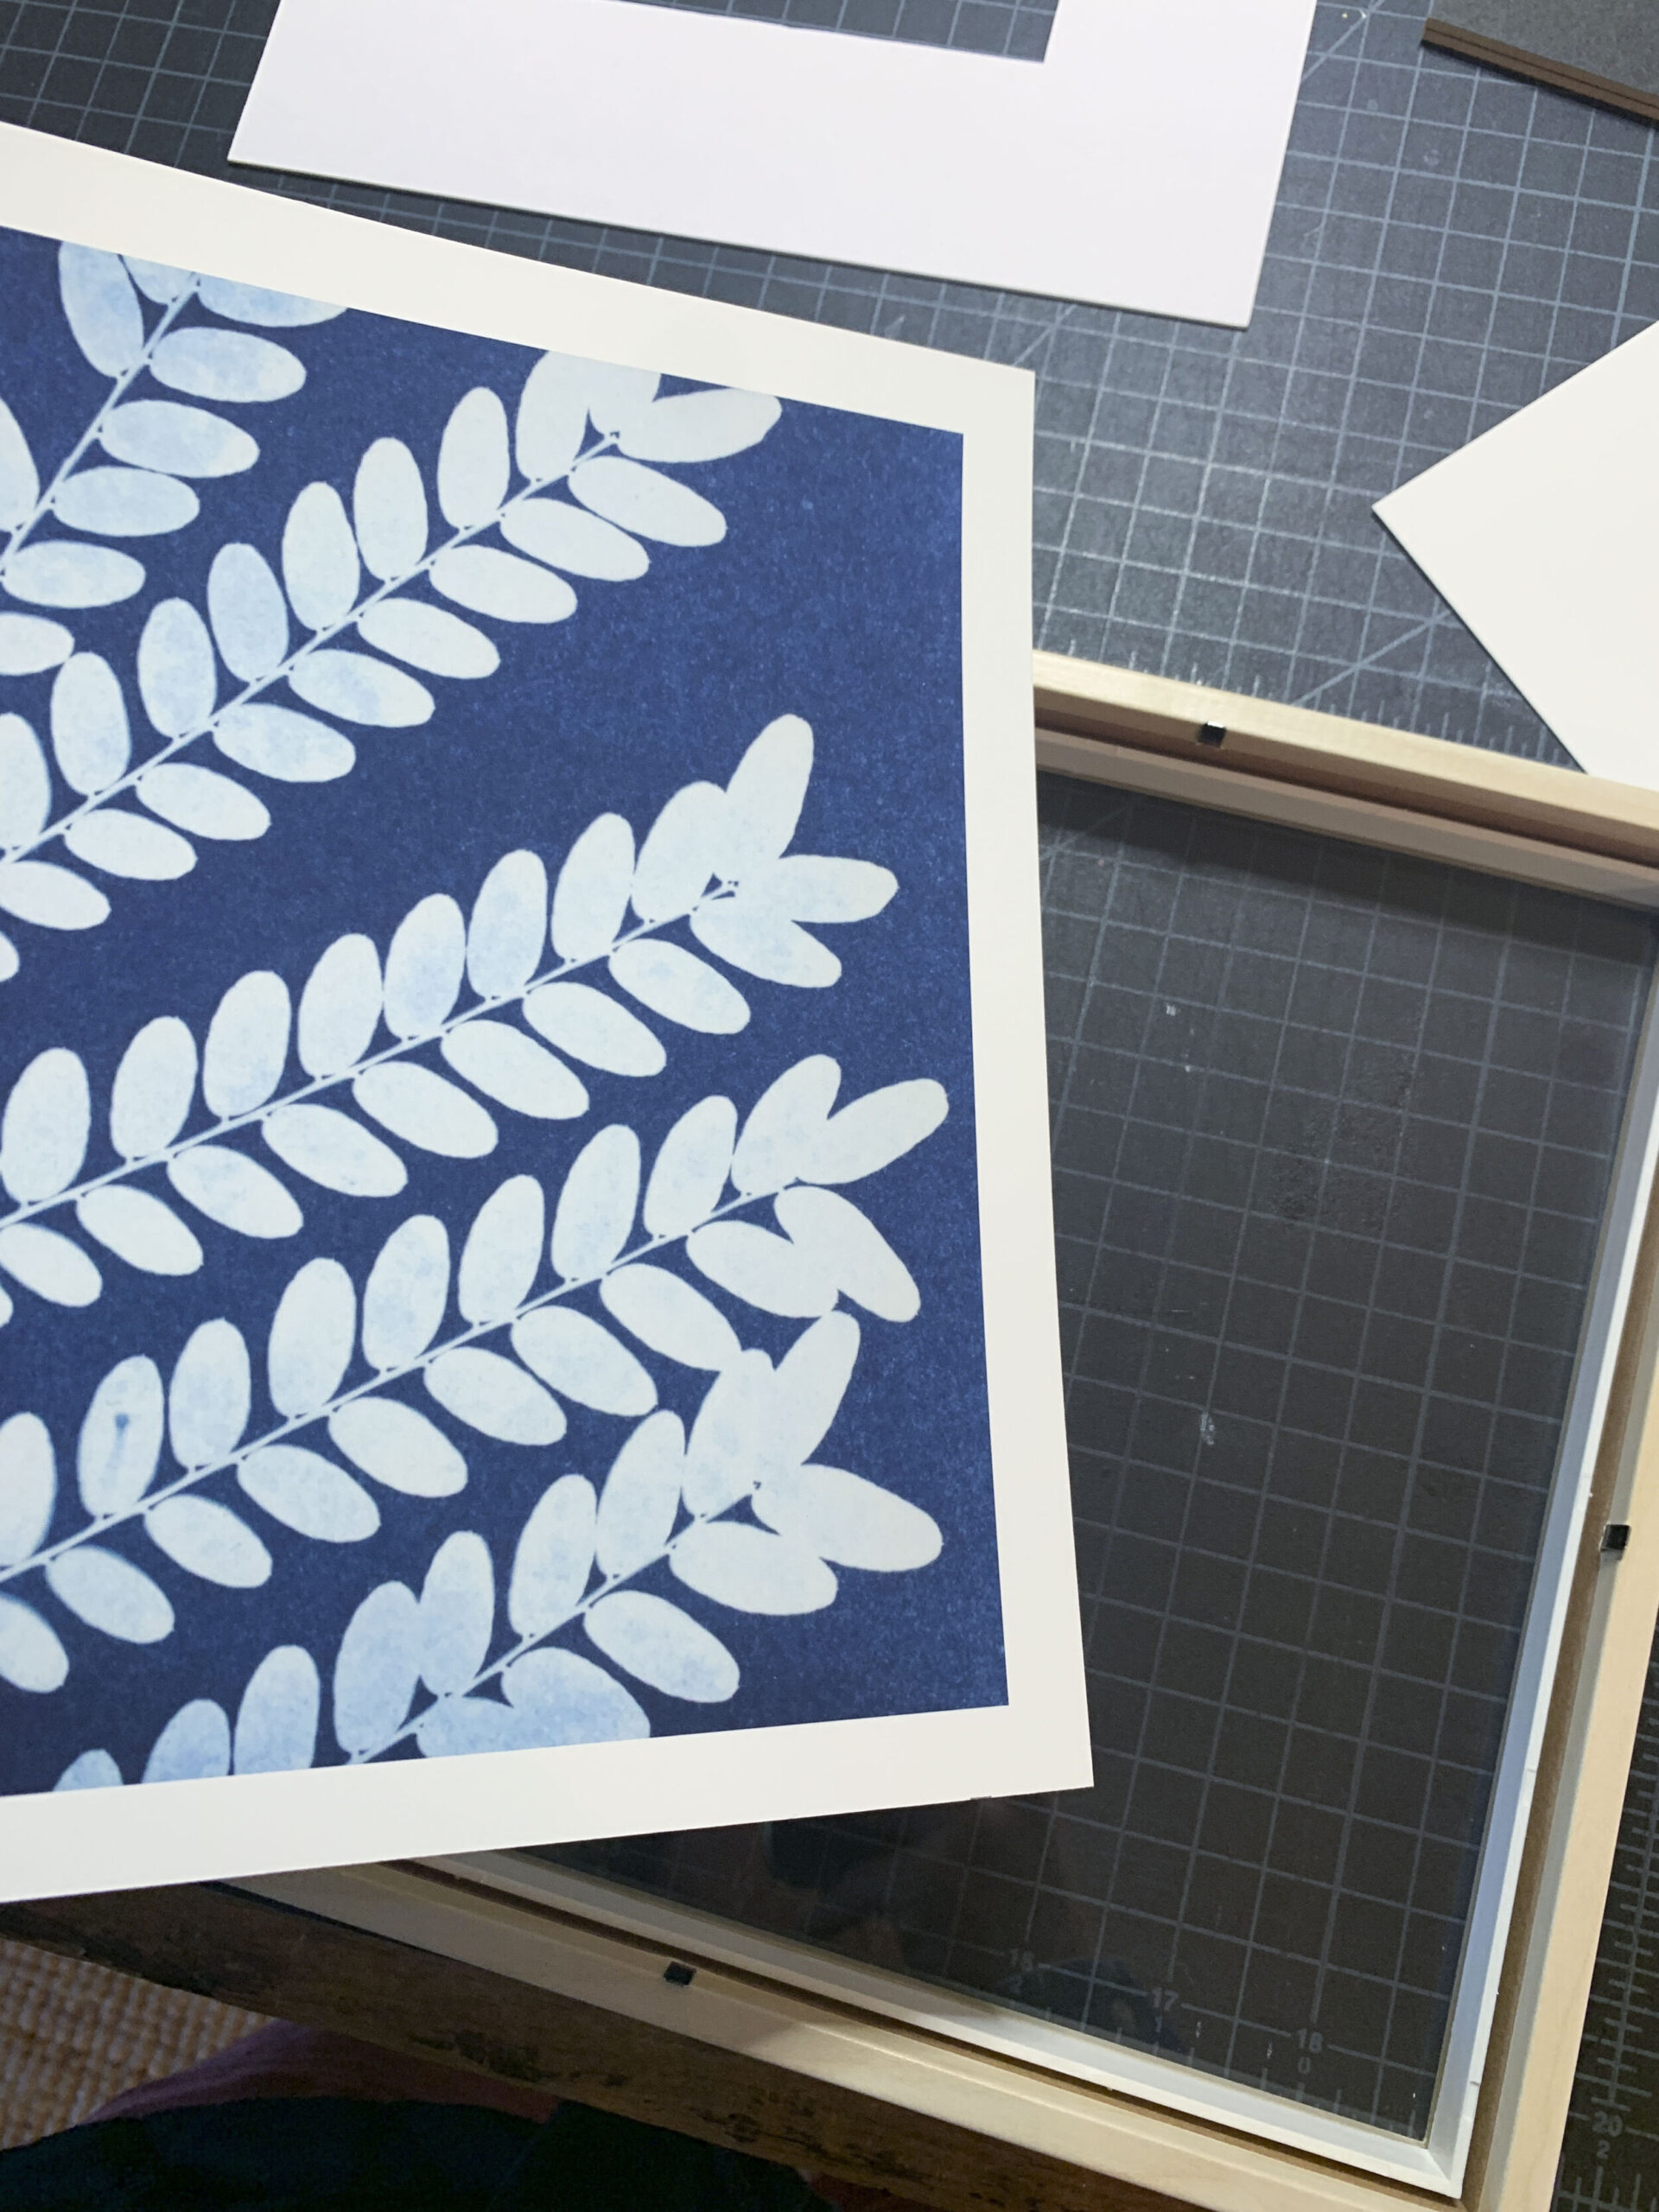
Assemble | Take your trimmed print that is now square and turn it over.
-
Assemble | Place your print, face down, into the frame, checking that the edges are on top of the white rectangular spacer and haven’t sunk down.
-
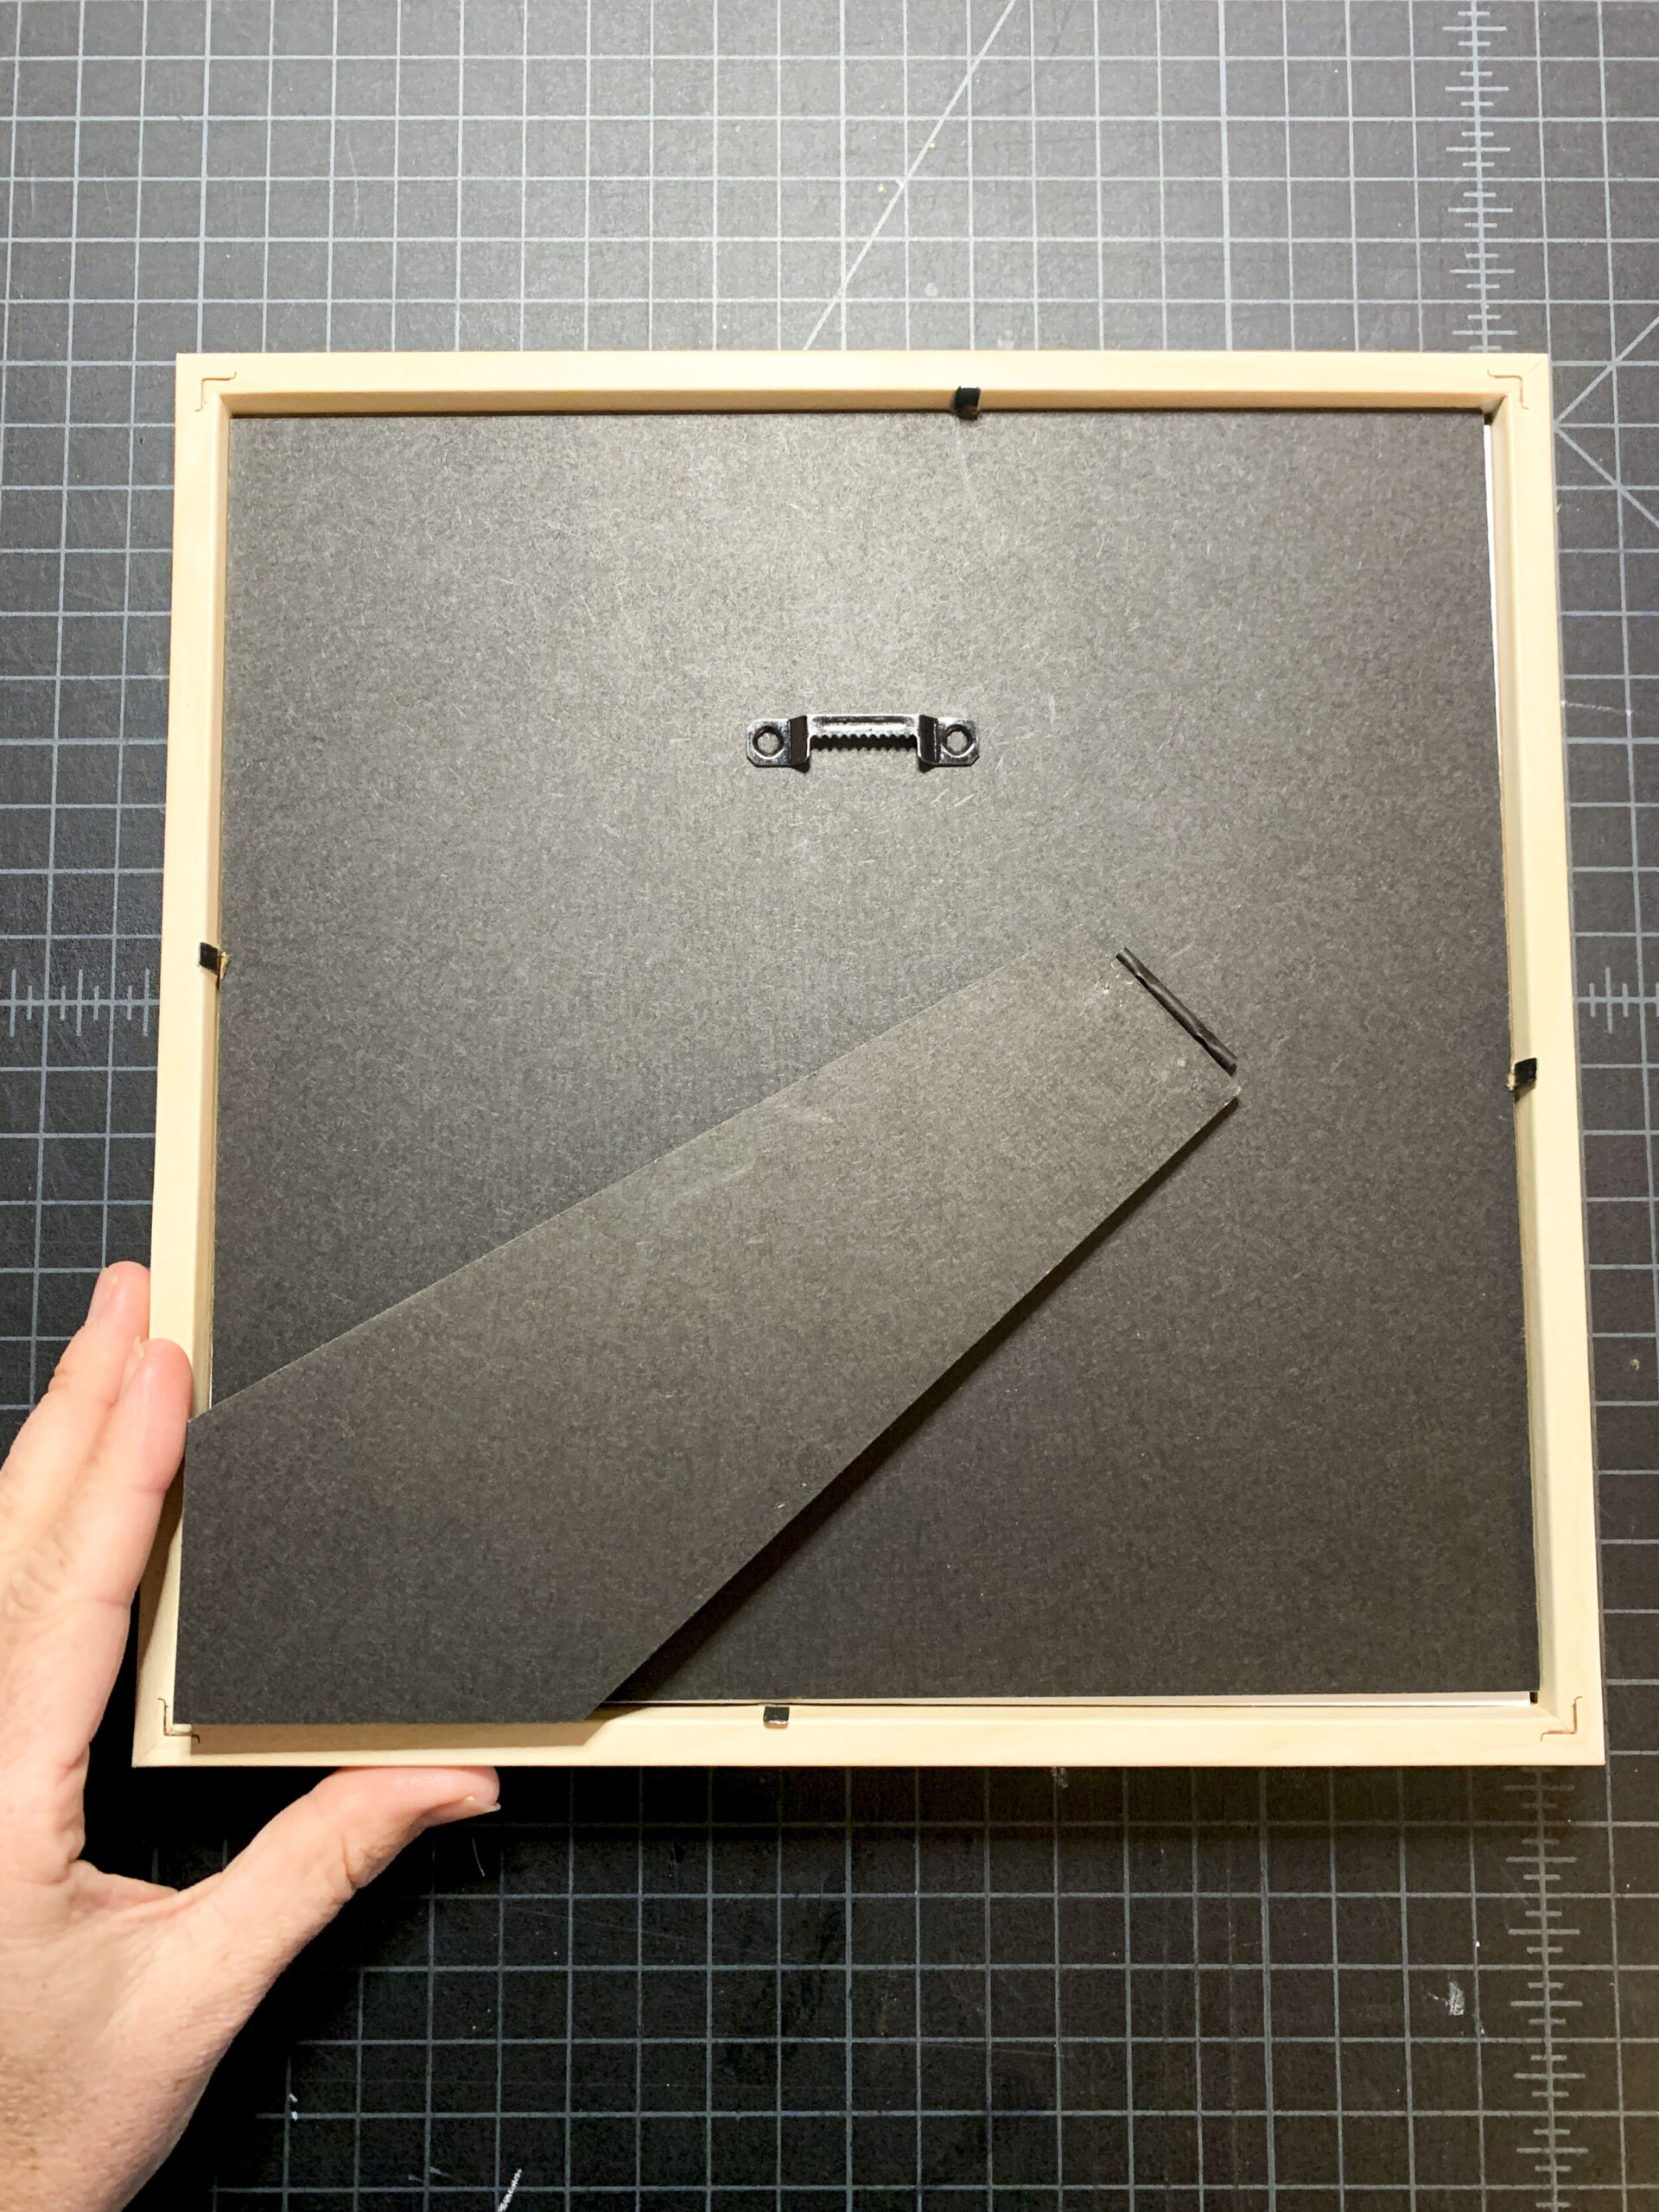
Assemble | The last step is to add the black backing on top of the print. Be sure the hanger is correctly placed on the back. You can see this by holding the black back in pace and turning the frame over to ensure you have the top at the top. If not, reposition the back.
-
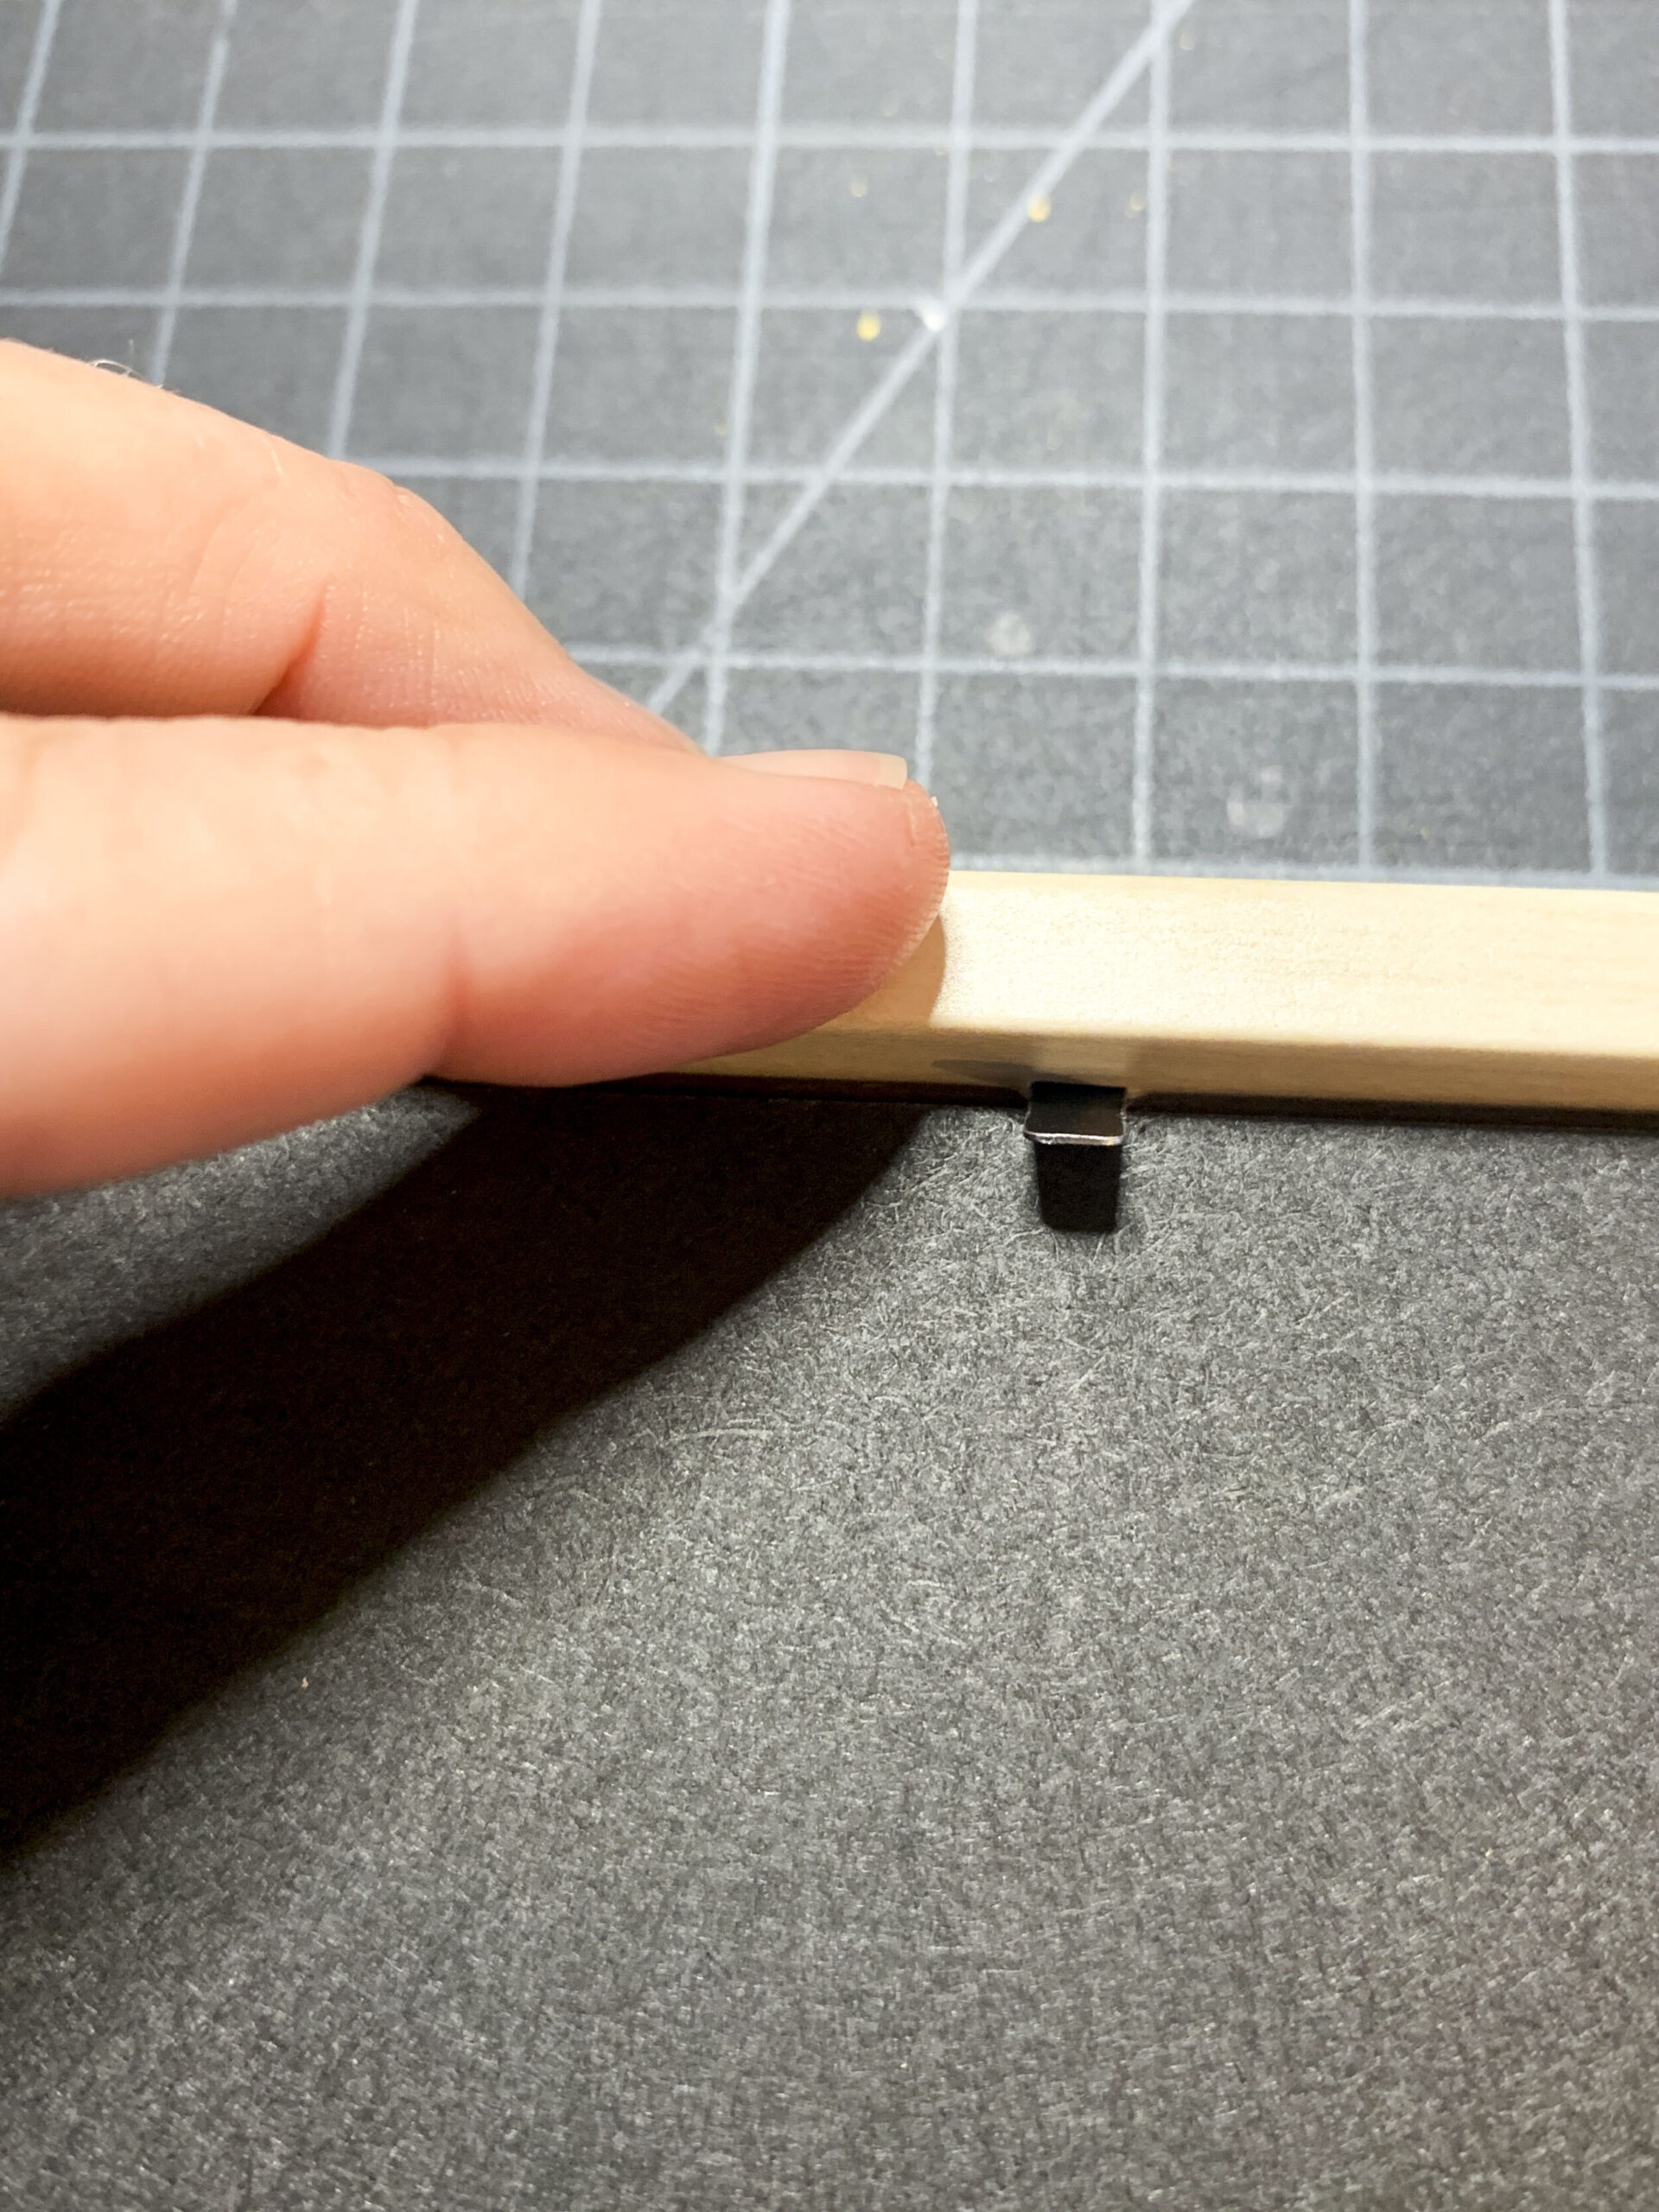
Assemble | Carefully press the black tabs down on all four sides.
-
Enjoy!
-
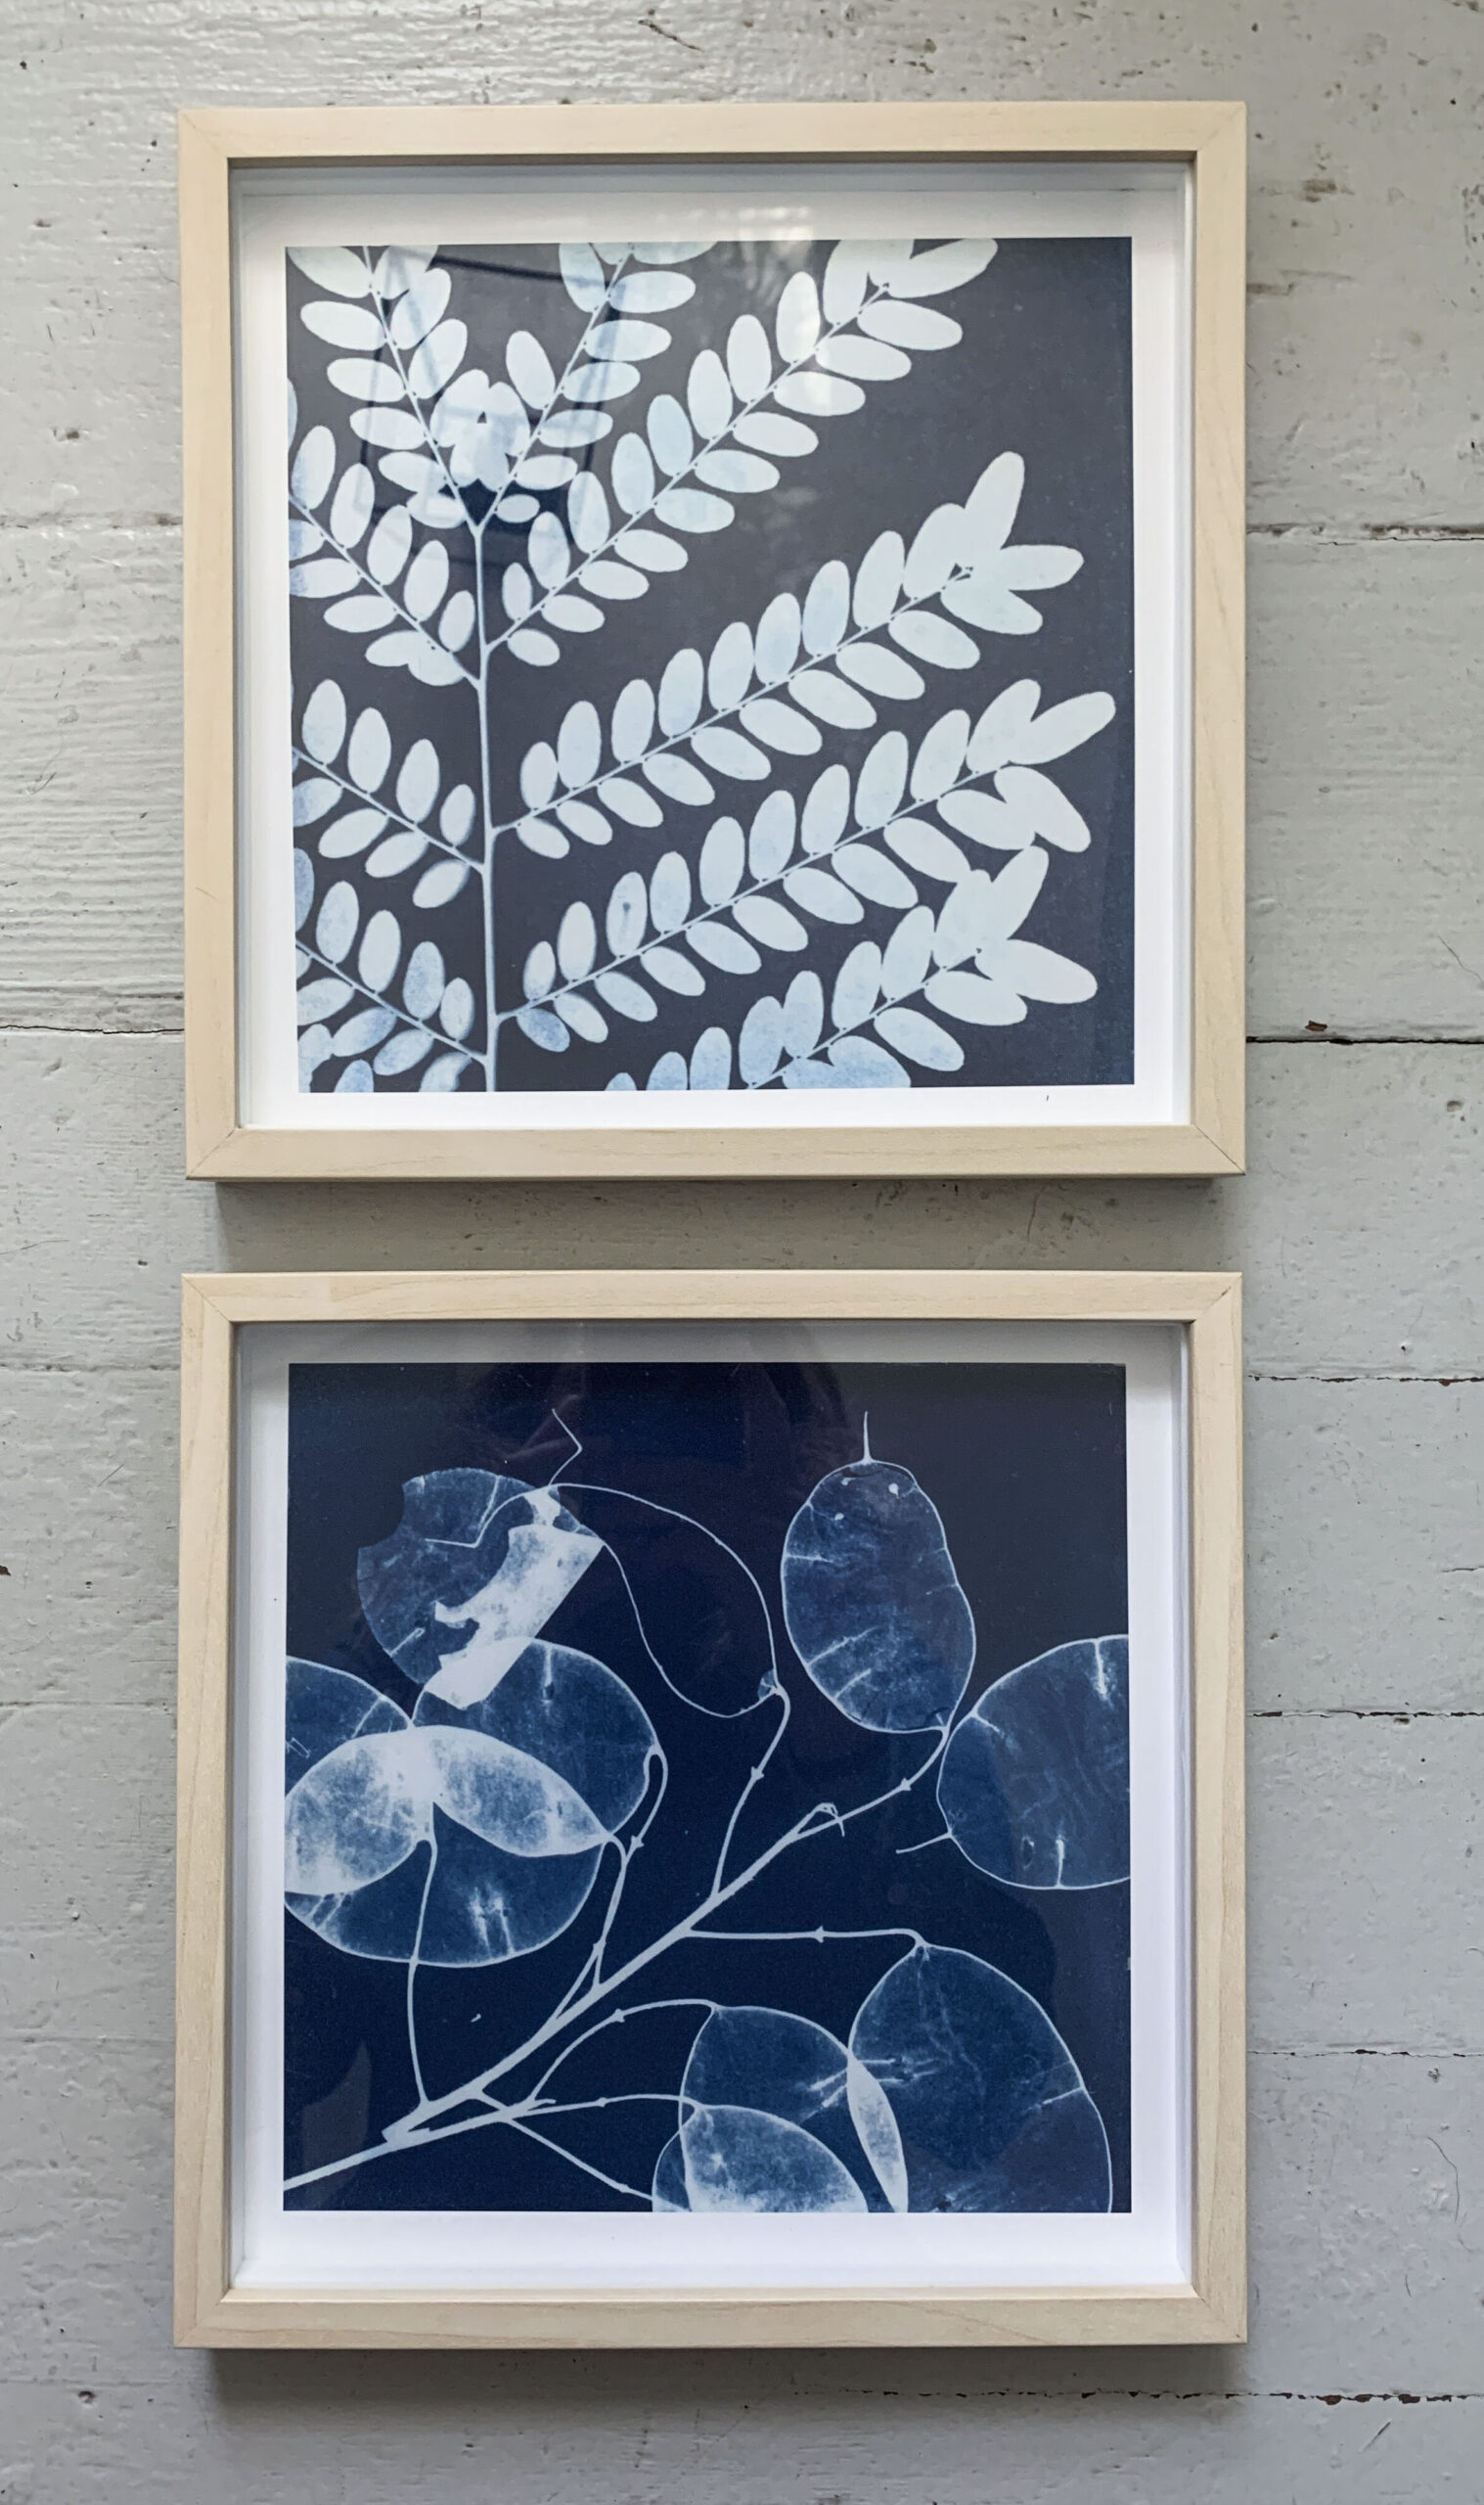
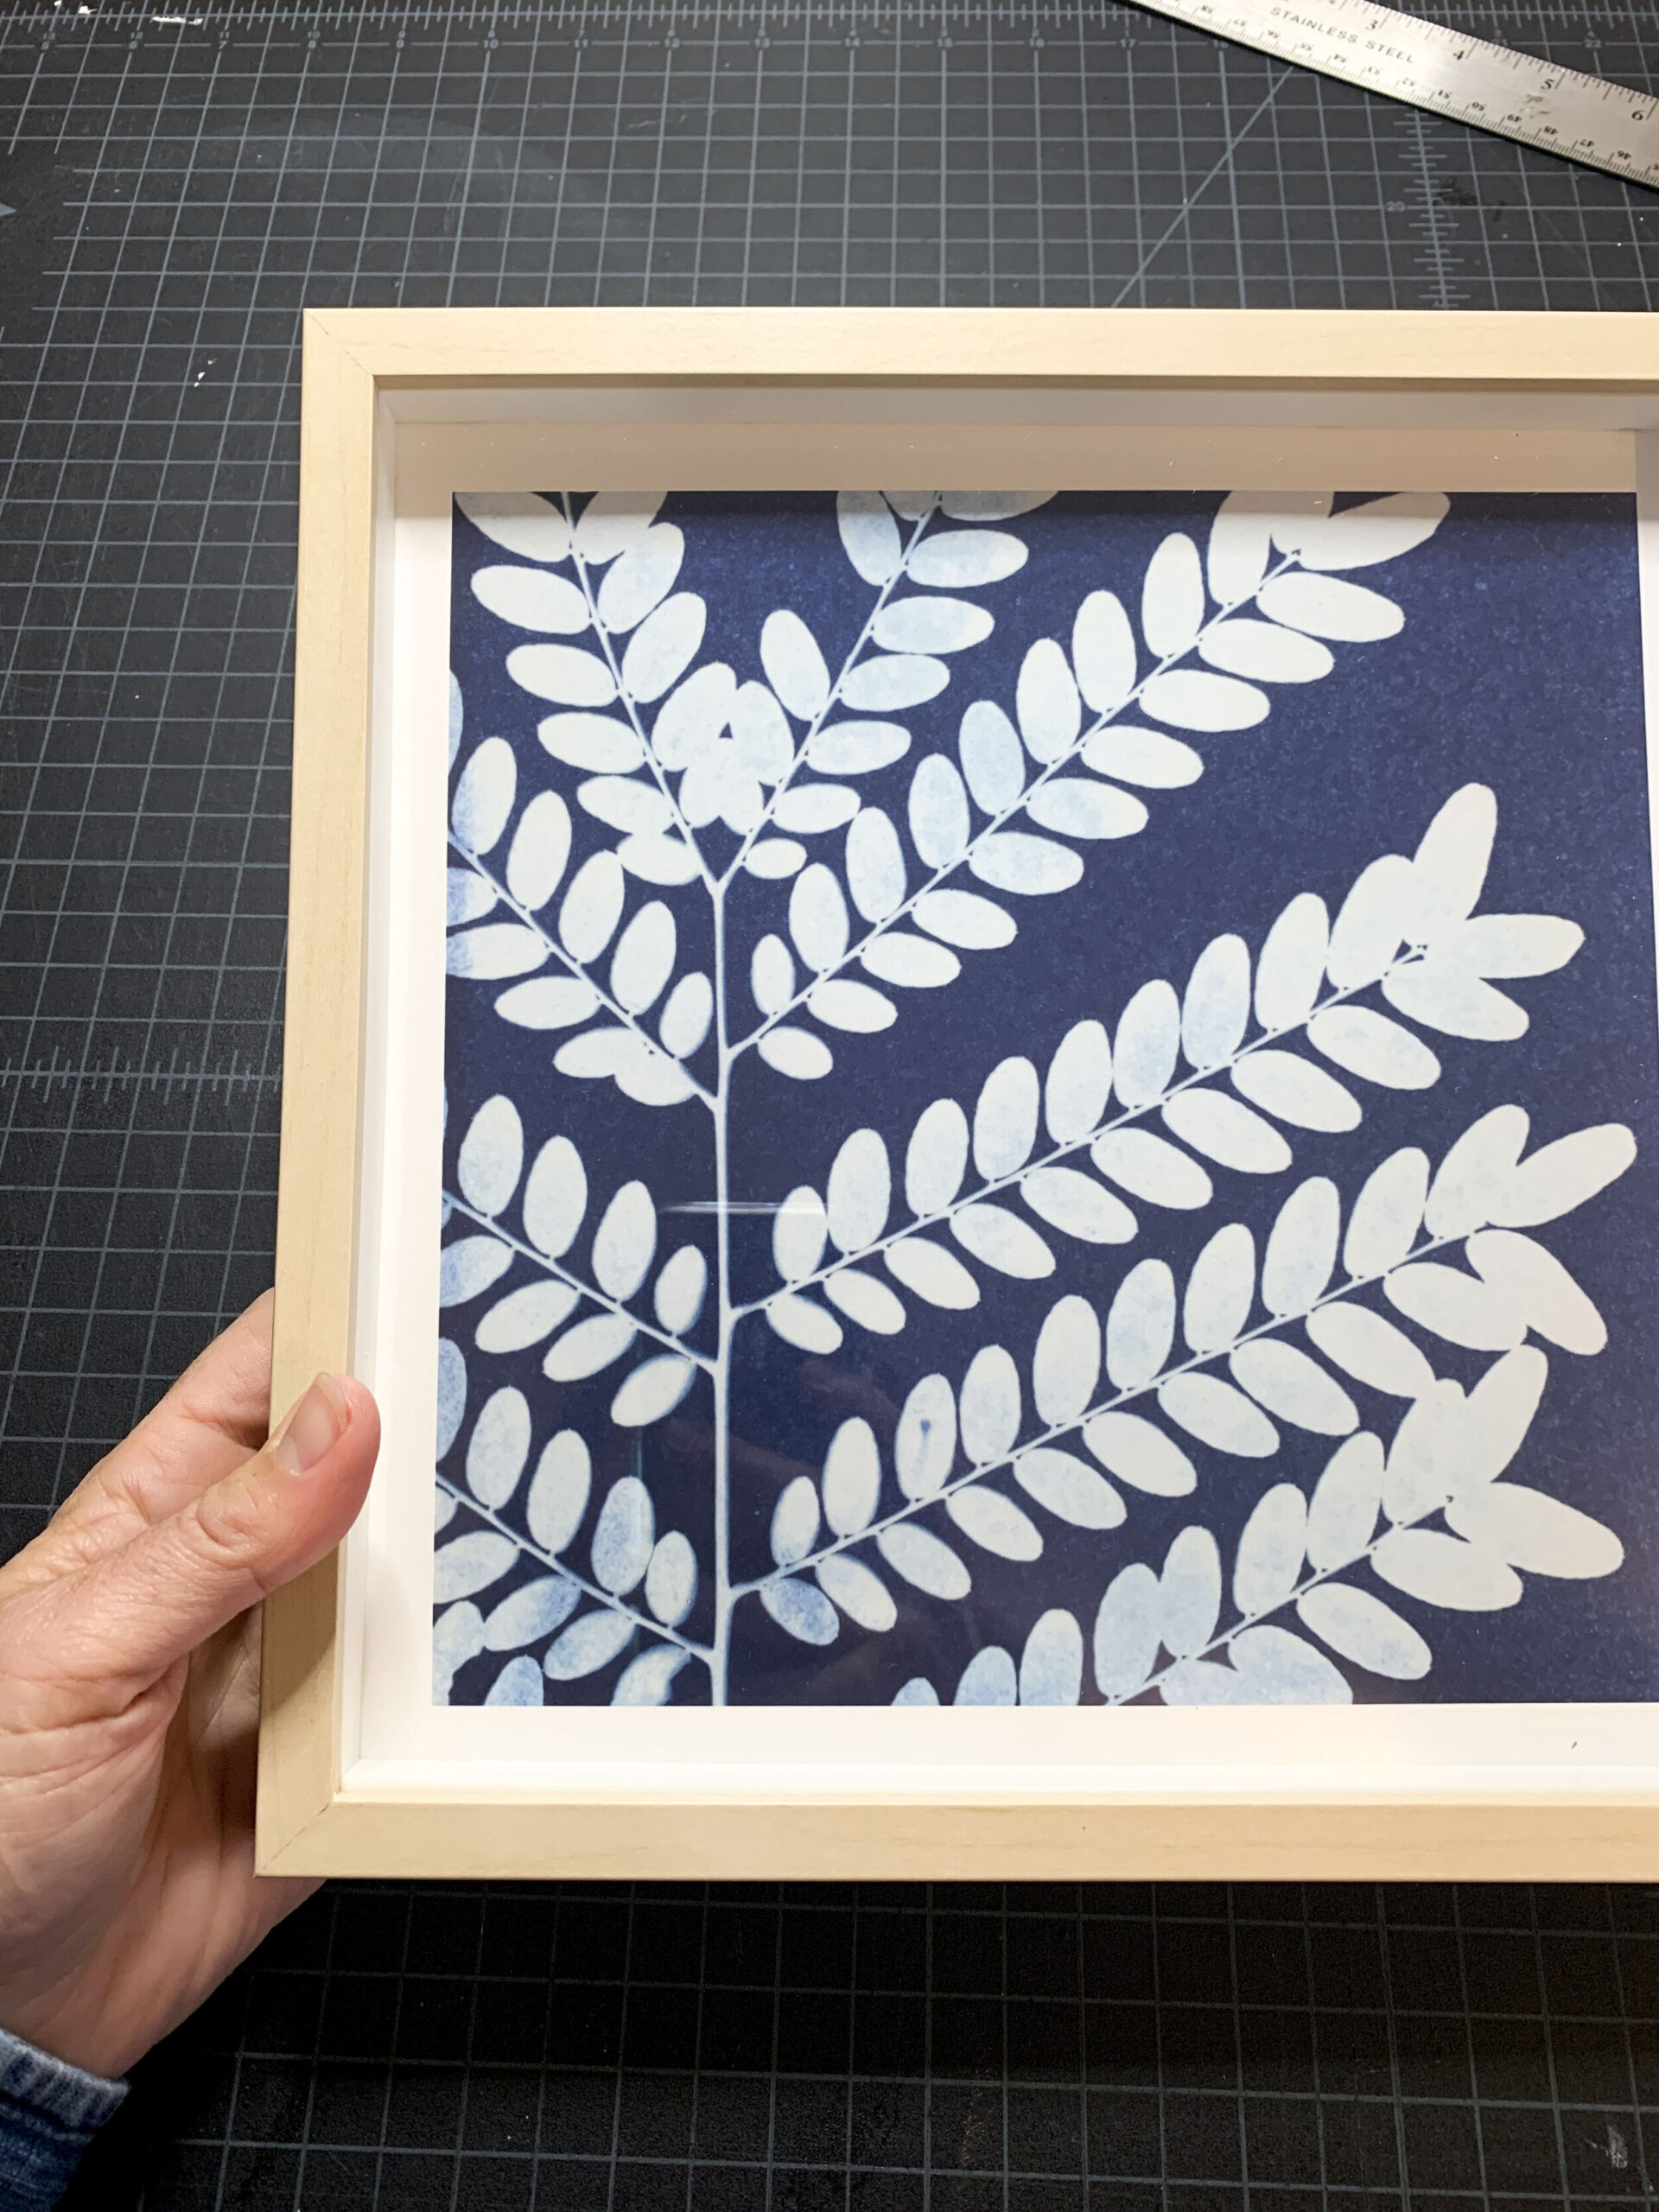
Two of the prints from the 2020 calendar, framed. Stay tuned for the full 12 grid of the 2021 calendar that is on Pre-Order until November 15, 2020.
